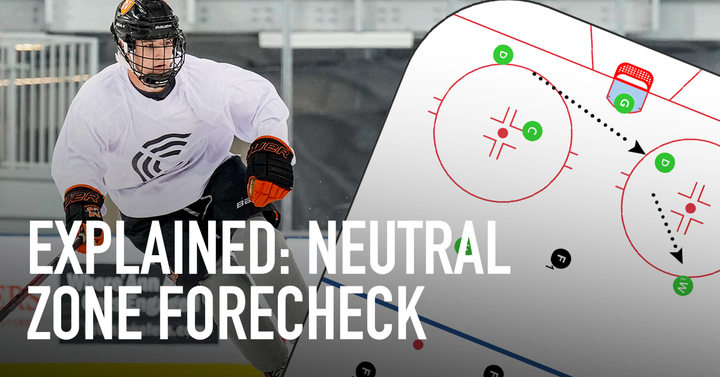
What is a neutral zone forecheck?
A neutral zone forecheck is a defensive strategy employed when the opposing team has possession of the puck between the blue lines or just behind their own blue line. This tactical system is crucial for controlling the pace of the game and disrupting the opponent's ability to transition through the neutral zone with speed and possession.
Teams typically implement one of several common neutral zone forechecking systems, but many teams will switch their neutral zone forecheck depending on their opponent. These are the neutral zone forecheck systems we’ll over in this series.
- The 1-2-2 system uses one forward to pressure the puck carrier while two forwards create a second layer of defense, supported by two defensemen maintaining gap control
- The 2-3 formation employs two aggressive forecheckers working in tandem, backed by three players forming a defensive barrier
- The 1-3-1 creates a web-like structure with one forward pressuring, three players forming a horizontal line across the neutral zone, and one defender positioned deep
The importance of an effective neutral zone forecheck cannot be overstated in modern hockey. Here's why it's essential for team success:
- It disrupts the opponent's transition game, forcing them to either attempt high-risk plays through traffic or resort to less effective dump-ins
- Creates turnovers in advantageous positions, leading to immediate counterattack opportunities
- Prevents opposing teams from building speed through the neutral zone, making their zone entries more predictable and easier to defend
- Helps control the game's tempo and forces opponents to play at your team's preferred pace
The success of any neutral zone forechecking system depends on several critical factors:
- Player conditioning and skating ability to maintain consistent pressure and proper gaps
- Excellent communication between all five players on the ice
- Quick decision-making based on reading the opponent's breakout patterns
- Disciplined positioning to avoid getting caught in vulnerable situations
Teams that execute their neutral zone forecheck effectively often find themselves controlling more possession time, generating more scoring opportunities, and spending less time defending in their own zone. This makes it a fundamental component of any successful hockey team's tactical approach.
The key to implementing an effective neutral zone forecheck lies in selecting the right system based on your team's personnel and consistently practicing the chosen formation until it becomes second nature. Players must understand their specific roles, maintain proper spacing, and work as a coordinated unit to make the system truly effective.
Learn all you need to know about the neutral zone here!
Get everything you need to know about offensive zone forechecks here!
2-1-2 Offensive Zone Forecheck
1-2-2 Offensive Zone Forecheck
1-1-3 Offensive Zone Forecheck