-
Teach–Drill–Game Sequence
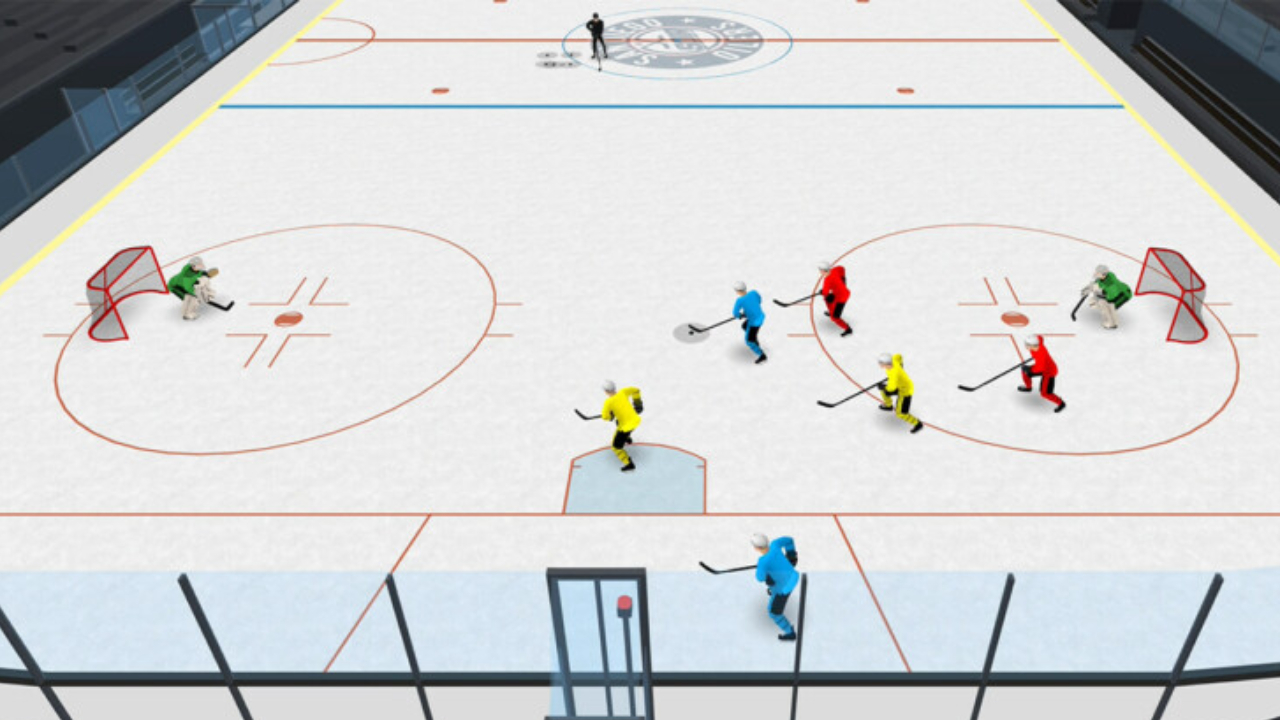
Start by introducing a single concept clearly, giving players a foundation to understand the idea. Follow this by incorporating drills that allow focused repetition, helping them practice the specific skill in a controlled setting. Conclude with a small-area game that integrates the concept, encouraging players to apply what they've learned under game-like pressure. For example, after teaching net-front coverage, use drills to focus on stick positioning and body placement. Then, transition into a small-area game where success is tied to clearing rebounds and maintaining defensive positions. This method creates a natural progression, helping players transfer learned skills seamlessly into gameplay while reinforcing the connection between drills and real situations.2. Start with a Coaching Hook
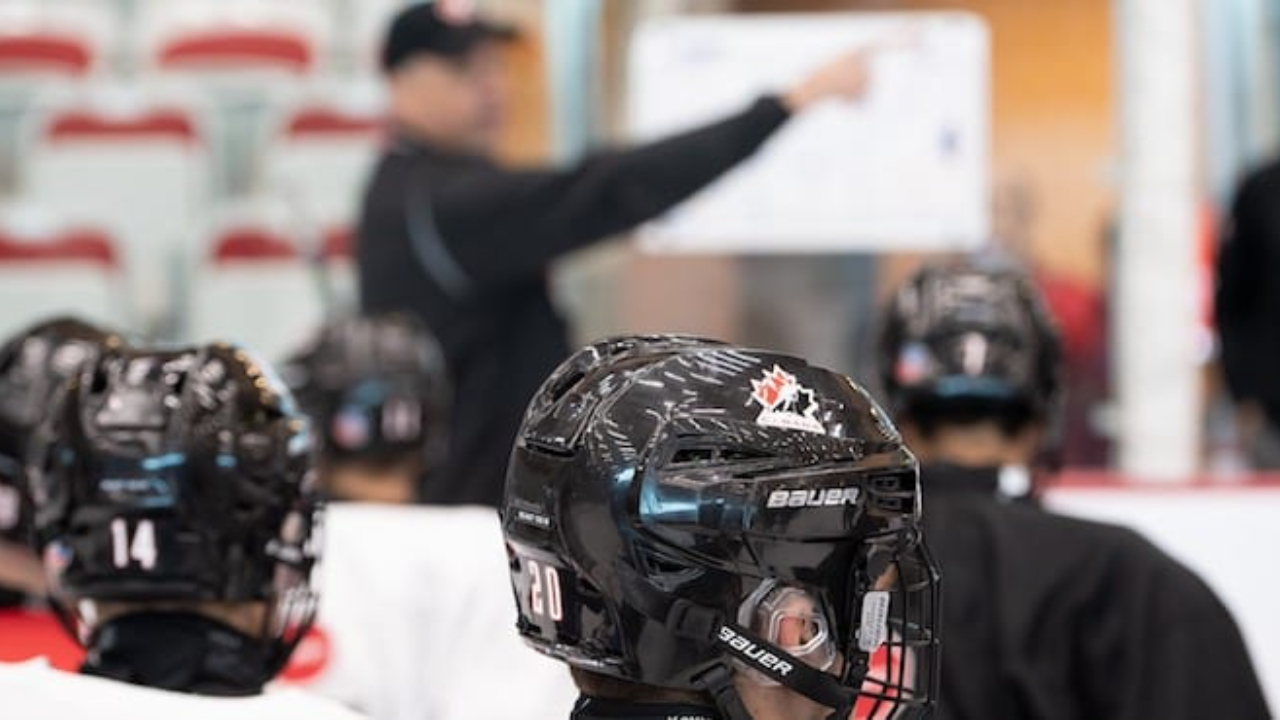
A coaching hook clarifies the focus of each drill or game by outlining the objective, its importance in gameplay, and what success looks like. For instance, when working on protecting the house, tell players, “We’re emphasizing this because rebounds led to two goals against us last game. Success today means defenders tying up sticks and staying net-side.” This explanation ties the drill to real-game challenges and sets clear expectations. Players are more likely to stay engaged and understand how their efforts impact the broader game. By framing each activity with a concise and relevant hook, you help players connect practice to game situations, making the session both focused and meaningful.3. Use Freeze and Feedback
Brief pauses during small-area games can highlight critical moments for learning. For instance, stopping play to show a winger positioned too high provides an opportunity to visualize the resulting gap and discuss corrective actions. Focus on specific, actionable feedback tied directly to the drill’s objective. Avoid vague comments like “try harder” and instead offer clear guidance, such as pointing out how closing a passing lane can prevent scoring opportunities. Limit these freezes to maintain the game’s flow, ensuring they are concise and purposeful. When executed effectively, these moments can make real-time adjustments stick with players.4. Design Effective Constraints
Constraints guide players toward desired behaviors by embedding the teaching points into the rules of the game. For example, when teaching breakouts, require teams to complete three clean passes before scoring. To improve D-zone support, set up a 4v4 game where defenders earn points for blocking passes or maintaining slot coverage for a set amount of time. These game-specific limitations push players to make decisions that align with the targeted skills without needing constant verbal reminders. By practicing within these structured scenarios, players naturally develop habits that carry over into competitive play, reinforcing the lessons through action and repetition.5. Reinforce Concepts Over Time
Players learn best when they get to practice the same skill in different ways. Start by teaching the skill slowly in a controlled drill, then move to more game-like situations. For example, after showing players how to play good D-zone coverage, run a few drills that include quick transitions or pressure, then finish with a small-area game where they have to make those same decisions in real time. Finally, test it in a full scrimmage so they can apply what they’ve learned in a true game setting. This step-by-step approach helps players remember the skill, build confidence, and use it naturally when it counts.

