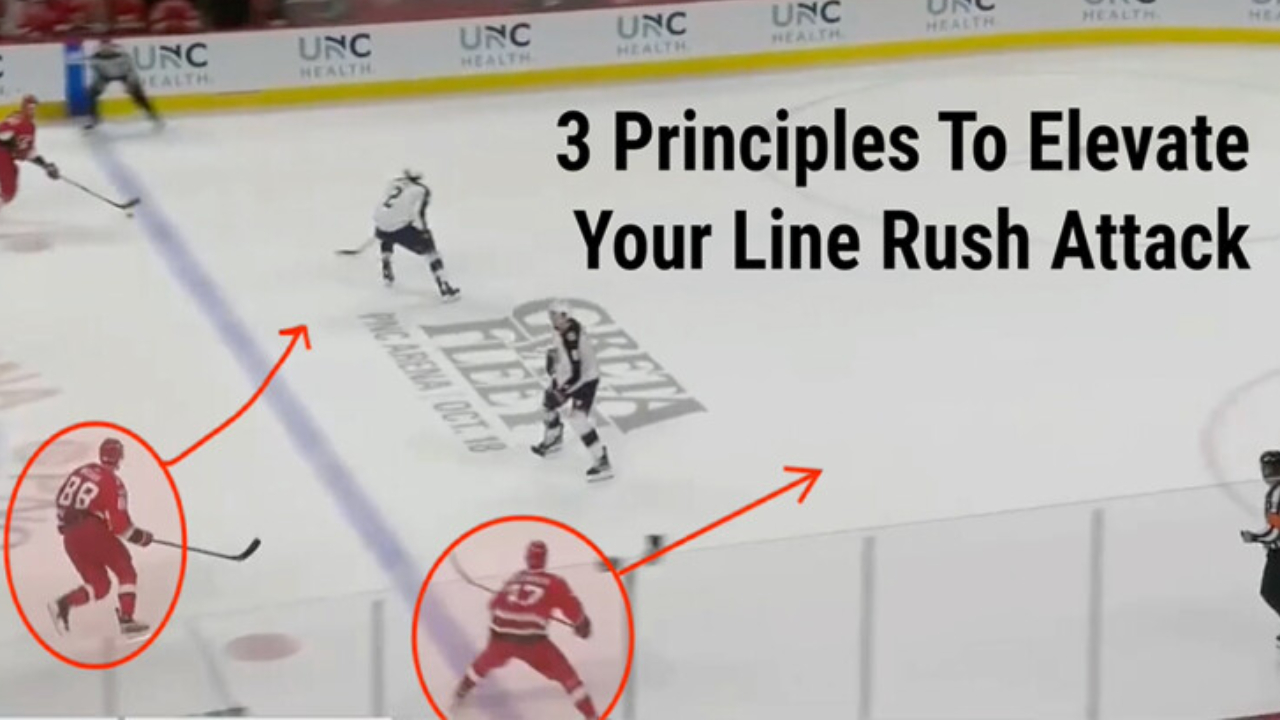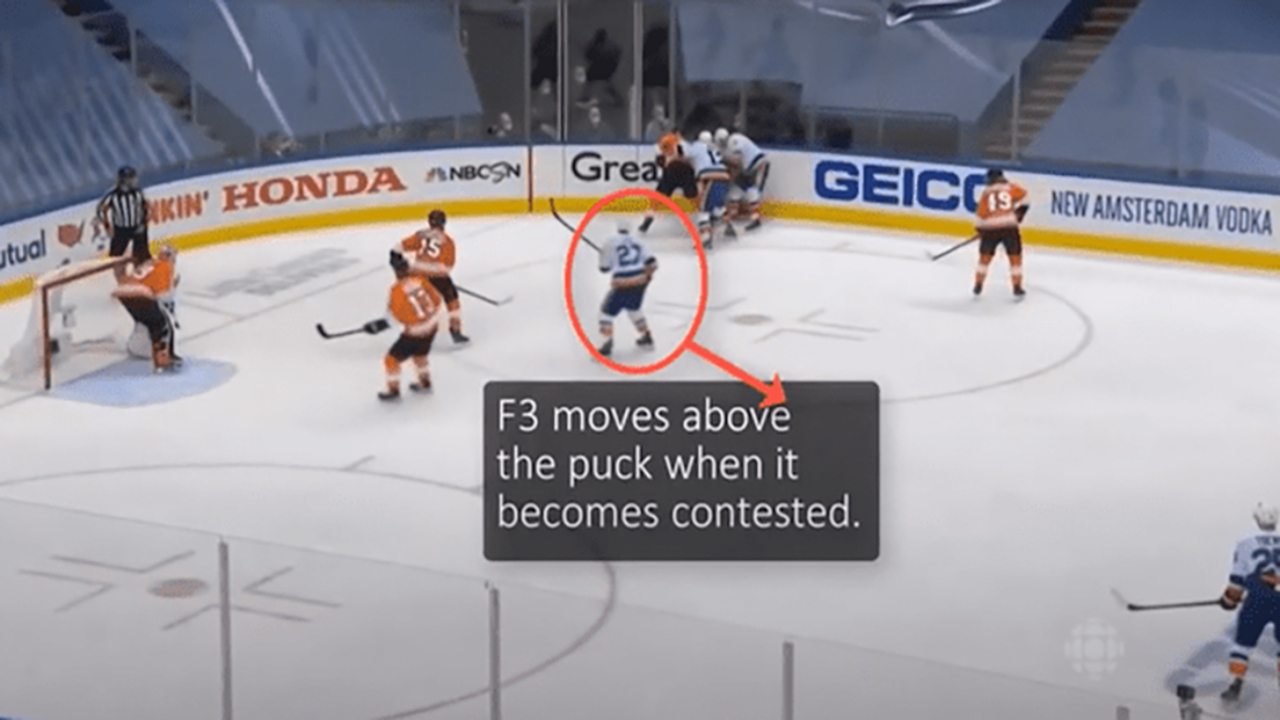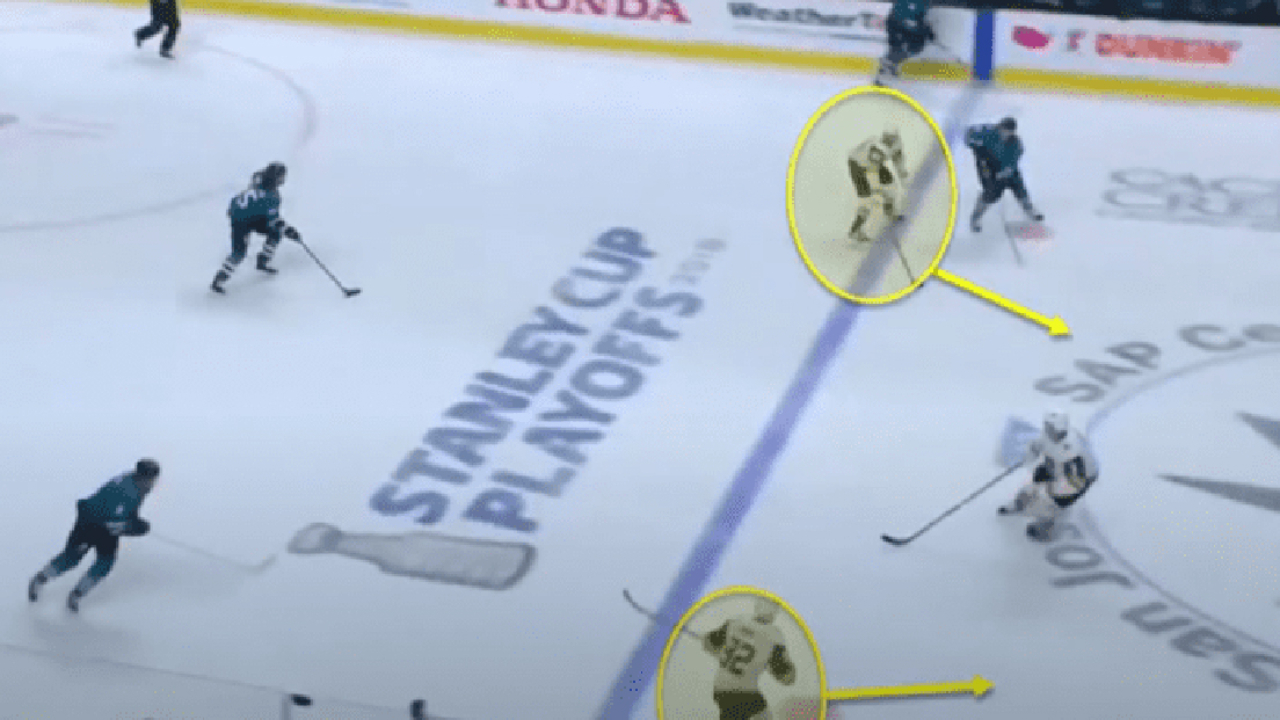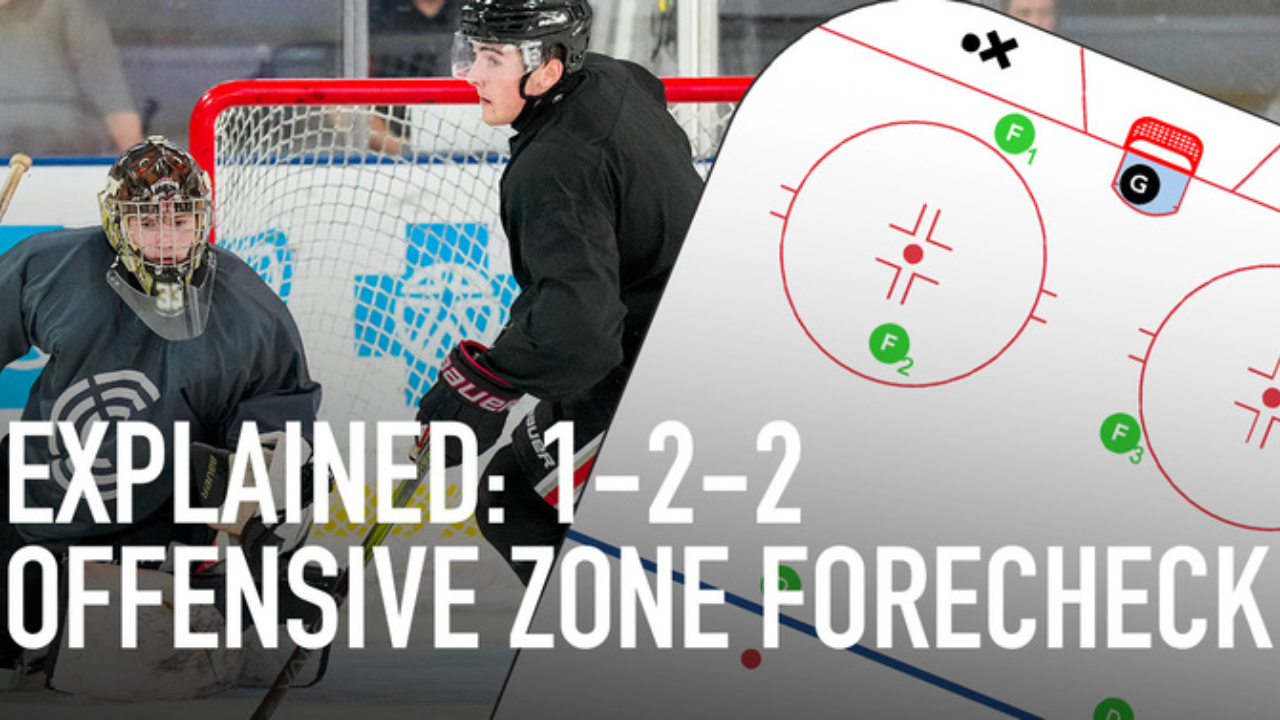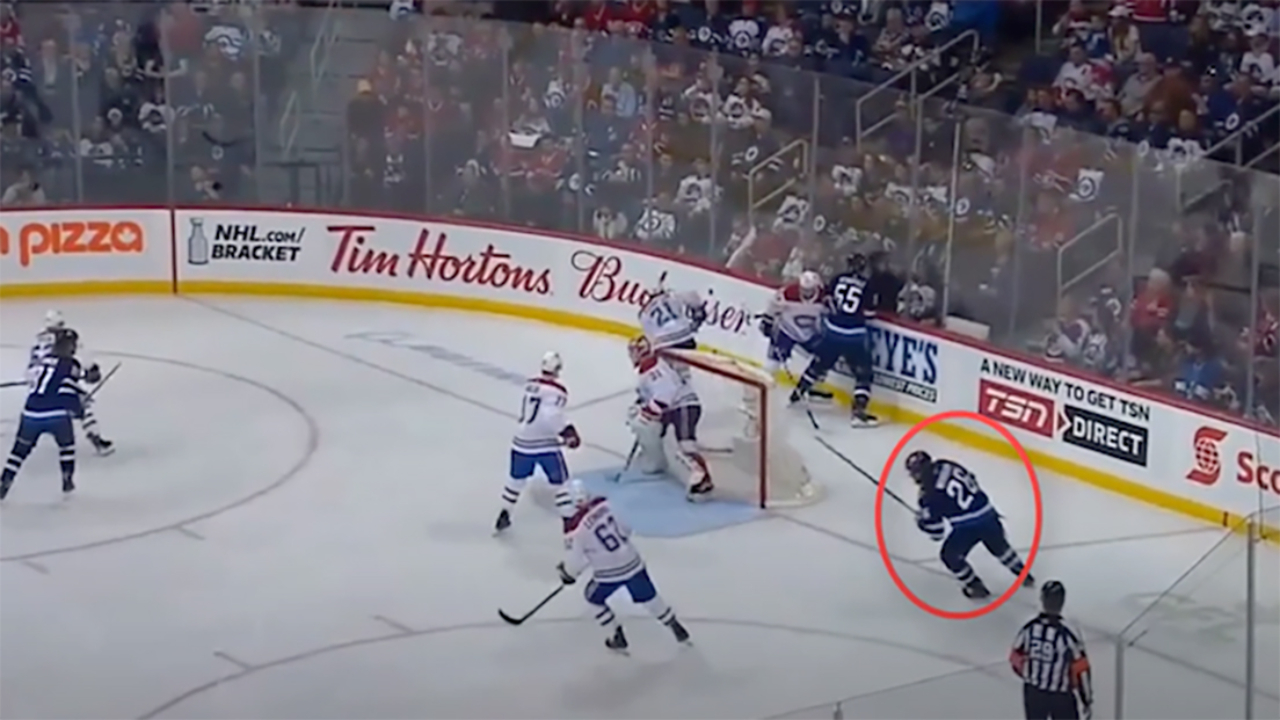
The position of F3 in the offensive zone is crucial.
Players are taught to backcheck fast and hard. The work rate of a team, its competitive desire, is often measured by the first few strides of players after losing possession; a group that immediately gets on the heels of opponents, that hounds the puck, usually controls the flow of games and ends up winning more of them.
It is not enough, however, to work hard on the backcheck. Players have to do it smartly, in a coordinated and calculated manner, in order to maximize the effectiveness of the tracking in the short term, to limit the dangerousness of the opposition’s attack, and in the long term, to conserve energy.
Devising clear backchecking systems fulfills those goals and brings consistency to a team.
Here we will present three systems that are used at the NHL level and focus on the movement of F3 — the key to most successful backchecks. The first one is the most popular, but the other two pair well with certain forechecks and have their own advantages.
Crucial to all three of those backchecks is the position of F3 in the offensive zone. When possession is changing hands, that player has to move above the puck to prepare the hunt.
1. Chasing the carrier
This system is by far the most aggressive. F3 chases the puck carrier through the neutral-zone in order to limit space, passing options, and angle the attack to the outside.
If the carrier rushes along the boards, the defencemen have two choices.
They can shift towards the attacked side of the ice, squeezing the puck carrier by doubling the pressure. As a result, the opposing carrier has to deal with F3 on his heels and, in front of him, a backward skating defenceman, walling access to the zone.
Or, those same defencemen can shift away from the carrier and cover the other lanes, the middle and the weak-side corridor, letting F3 catch up solo and force the carrier to dump the puck.

Both movements have their advantages and disadvantages.
If the defencemen slide towards the puck carrier, the pressure intensifies; it maximizes the chance of a turnover. But the movement opens up the weak-side corridor; a deft cross-ice pass to a teammate, the neutral-zone defence crumbles, and it leads to odd-man rushes.
If the defencemen move away from the puck carrier to cover the weak side, the responsibility of stopping the rush falls in the hands of F3. The backcheck becomes a race to the defensive blue line. If F3 falls behind, the carrying attacker gets in.
As all situations are different, backchecking systems need to include some reads. Both the defensive pair and F3 have to adapt their position depending on the carrier’s speed, the number of opponents, and their proximity to the puck.
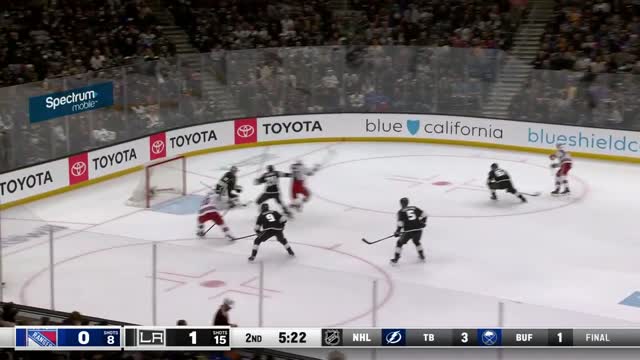
If the puck carrier attacks alone, the defence can squeeze him by doubling or tripling the pressure. If three attackers rush up-ice, the defencemen can shift away to absorb the off-puck threats, giving the puck carrier to the first backchecker. If F3 is late to catch the puck carrier, the strong-side defenceman can align with the attack and let F3 come back through the middle instead. All three scenarios feature in the video above.
Chasing the carrier requires more energy out of the first backchecker. Sometimes, F3 has to skate across both the width and length of the ice to reach the puck. Those long courses add up during the game and fatigue sets in.
The next two backchecking systems are more passive, but they help players converse energy.
2. Locking the wide-lane
In a wide-lane lock system, F3 still pursues the puck carrier, but the length of that chase is limited. If F3 isn’t able to catch the puck carrier before the blue line or the red line (depending on the directive of the coaching staff), the player doesn’t aimlessly chase. He/she falls back and covers the weak side of the ice or the wide lane.

This allows the defensive pair to shift laterally to the strong-side of the ice (the one that the puck carrier attacks) and absorb the incoming rush.
F3s don’t tire themselves as much in this system. They conserve energy. The players who are already in a position to defend the rush — the defencemen — do the grunt work. There are also fewer odd-man rushes given as all three neutral-zone corridors are covered.
But the strategy is more passive. It creates fewer neutral-zone turnovers than the chase tactic. And, as there is no immediate pressure on the heels of the puck carrier, opponents can use the space between the defensive pair and the remaining backcheckers to cut laterally, exchange the puck, and enter the offensive zone.
If the rush moves all the way to the weak side, the position defended by F3, the rush defence skills of that F3 will be tested. Not all forwards are comfortable angling rushers and skating backward.
3. Splitting the defencemen
This is a strategy that Guy Boucher’s Ottawa Senators used to employ. The split backcheck is the logical progression of the 2-3 split forecheck. Boucher sent two forwards up-ice to pressure the opposition’s breakout, while his F3, often his centreman, would stay high in between his two defencemen and retreat with those defencemen if the opposition rushed out of the zone.

The principles of the split backcheck system are the same as the lock system, except that F3 takes position in the middle of the ice instead of in the wide lane.
It helps conserve energy — there is no hard pursuit — but the strategy is also more passive. F3s have to play conservatively in the offensive zone and think about retreating in time to form the defensive line.
Conclusion
Backchecking systems are all about finding the sweet spot between conserving energy and pressure. Are you a coach who likes to counterattack off turnovers or one who’s main goal is to limit odd-man rushes?
The systems can be manipulated and changed based on preferences, F3 can hunt the puck up to the blue-line, but if catching the carrier is out of the question, he/she can lock or split the defencemen instead, letting them handle the puck carrier. That same F3 can also retreat immediately to the wide lane, which allows the defencemen to step up harder and deny access to the zone.
Hopefully, the three systems presented above help you devise one that suits the needs of your team.

