Purpose:
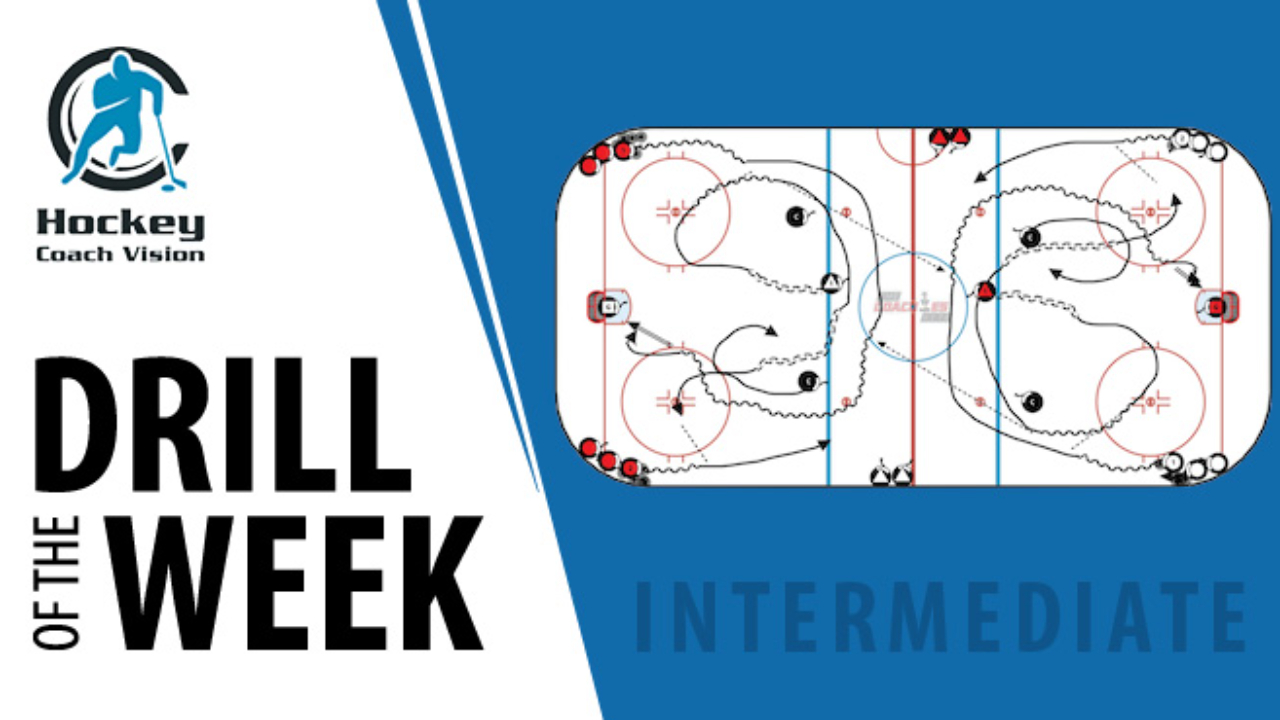
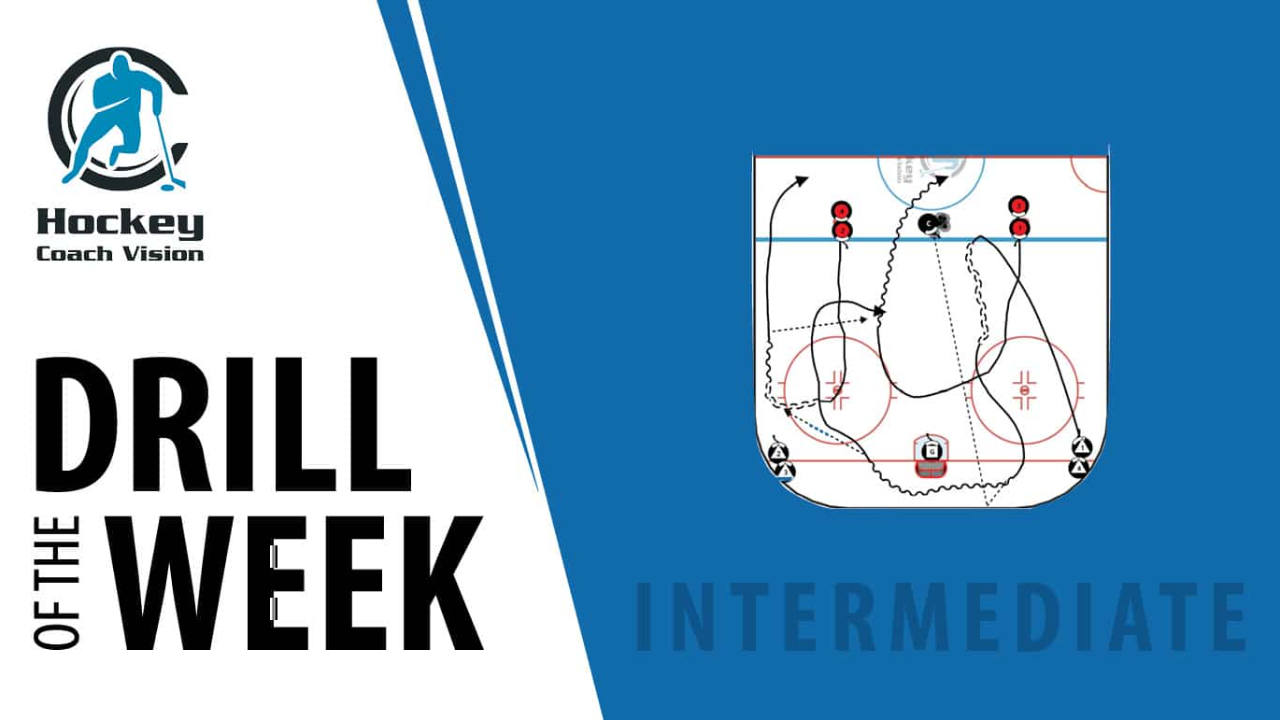
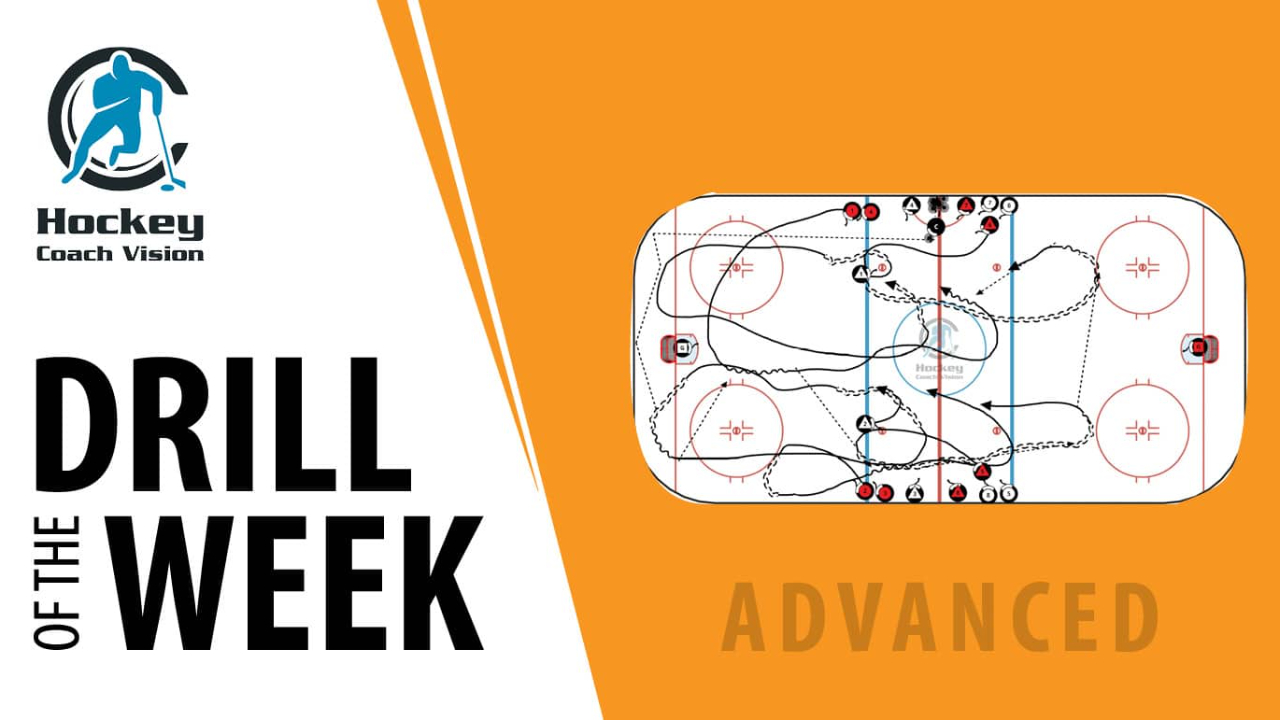
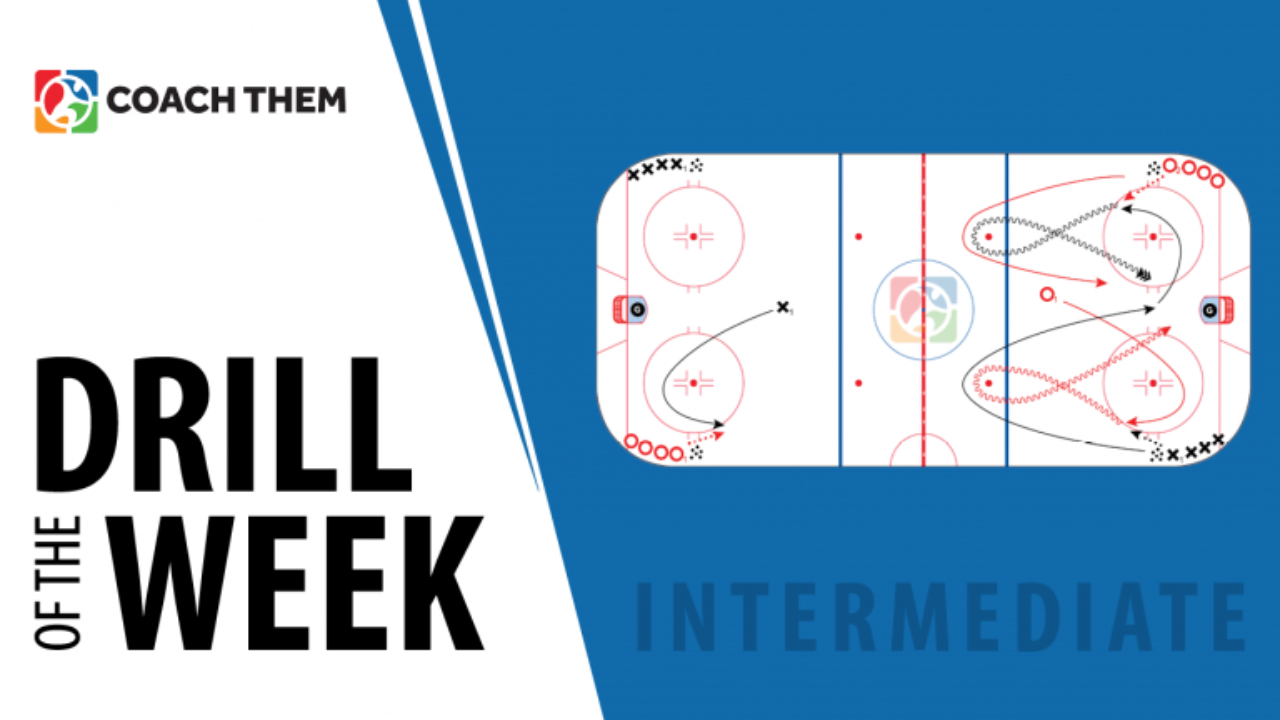
This drill focuses on D-zone puck retrievals, breakout timing, neutral zone execution, and transition into a 2-on-1. It emphasizes habits, communication, and defensive gap control.
Drill Setup:
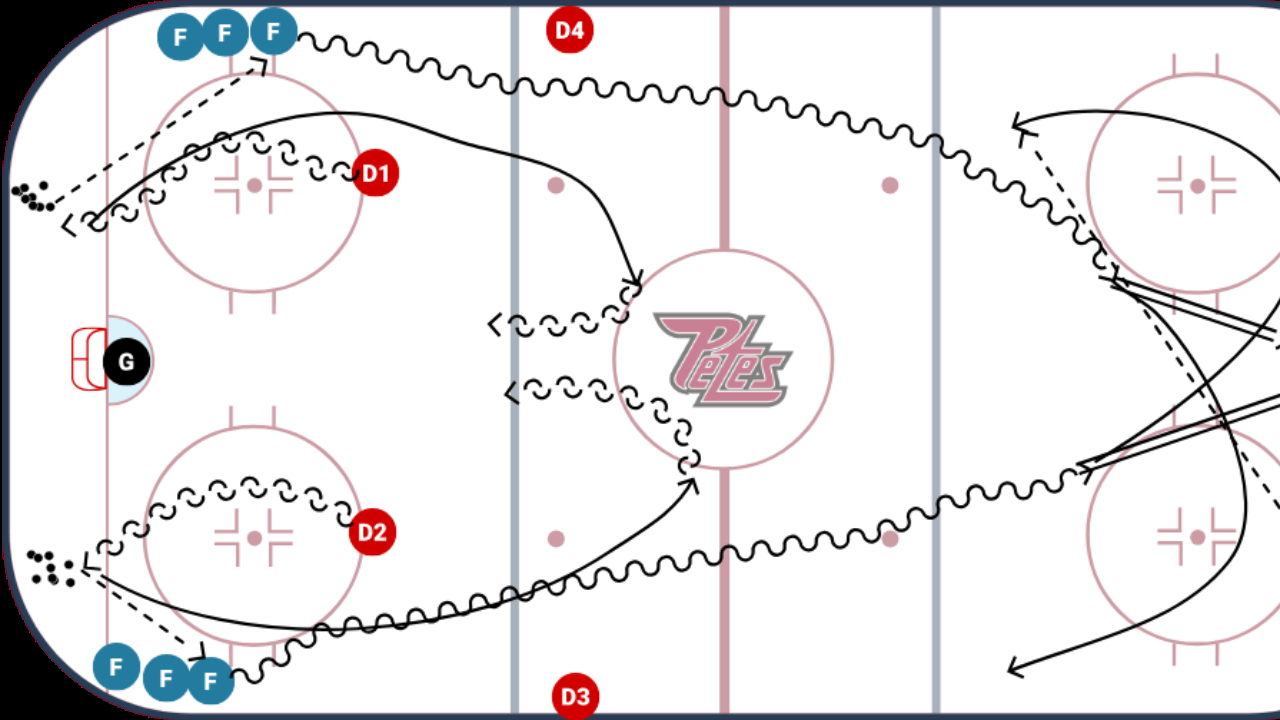
- Drill runs out of both ends simultaneously.
- Pucks and extra players are positioned in the center circle.
- F1 starts on the red line along the wall, acting as the breakout winger.
- F2 starts on the red line near the middle of the ice, acting as the centerman.
- One defenseman (D1) is in on the blue line, inside the dots.
- A coach or extra defenseman in the center dumps a puck into the corner to start the drill.
Drill Execution:
Step 1:
On the whistle, a puck is dumped into the corner. D1 skates backwards to the top of the circles, then pivots forward to retrieve the puck. D1 shoulder checks while retrieving to read pressure and locate passing options.
Step 2:
Simultaneously, F1 and F2 begin their breakout routes. Timing is key—both players must watch D1 and adjust their speed to maintain proper spacing.
Step 3:
D1 makes a breakout pass to either F1 or F2. After receiving the pass, F1 and F2 may exchange a few passes through the neutral zone, but must stop at the far blue line before transitioning into the 2-on-1.
Step 4:
D1 follows the play up ice, skating through the red line and gapping up to defend the 2-on-1. The rep finishes with a rush to the net.
Key Teaching Points
Forwards (F1 & F2):
- Time routes based on D’s retrieval
- Communicate and check over shoulders
- Avoid leaving early—no blowing the zone
- Focus on clean pass receptions and quick puck movement
- Use width, speed changes, or delays to create a quality 2-on-1 attack
- Make reads based on the defender’s stick and positioning
Defense (D1):
- Shoulder check on retrieval
- Retrieve pucks cleanly off the wall
- Execute quick, accurate breakout passes
- Gap up through the neutral zone under control
- In the 2-on-1, take away the middle and force the shot