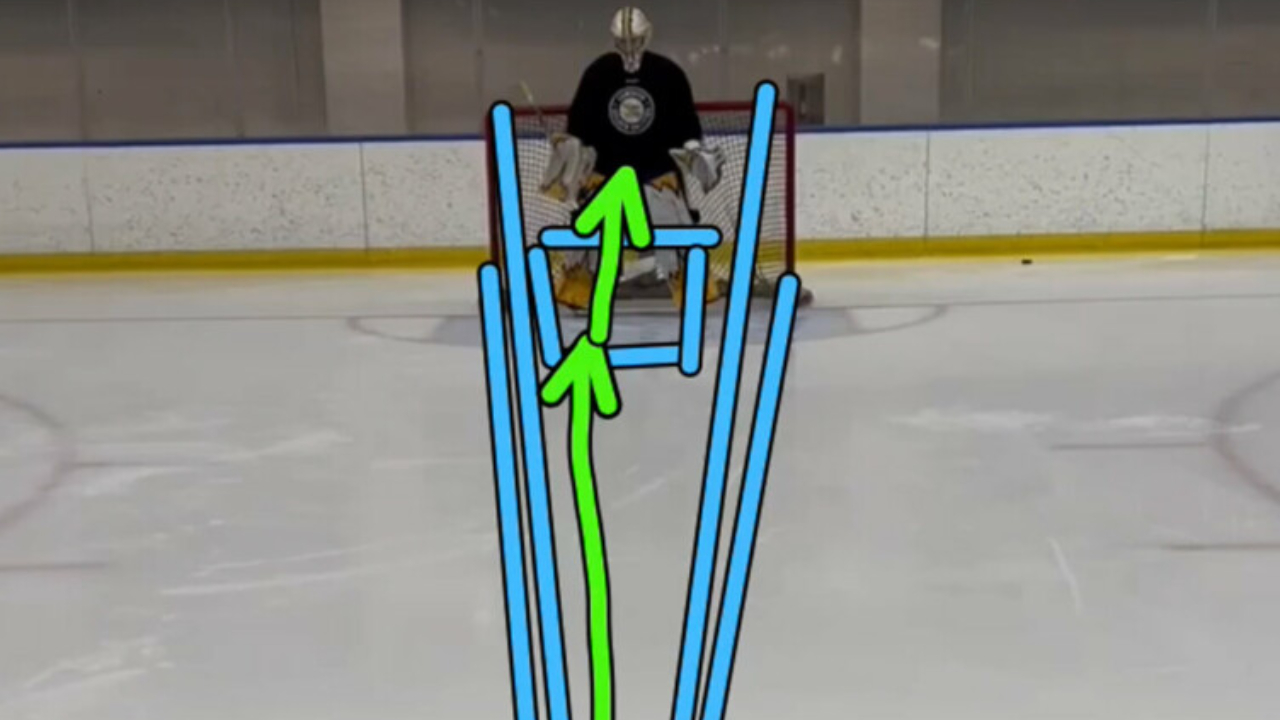
The Stance is the key to unlocking a goaltender’s full potential. How a goalie uses their body will best determine their success in the net.
There are many blogs, social media accounts and video channels dedicated to goaltending, but a lot of them neglect the most fundamental element to improving your ability. The Stance (or frame) is the key to unlocking your full potential. For me how the goalie uses their body or frame will best determine their success in the net.
There has been a lot of focus with regards to teams wanting big goalies, where this thought process has now made its way into minor hockey. The tallest kid, boy or girl are getting the net because “that’s what scouts want.” In speaking with many NHL goalie scouts, the focus is who can play. There is still a belief that big goalies have to prove they can’t play, where “smaller” goalies have to prove they can. Through their stance, if a goalie is able to establish a good frame in the net, they will appear bigger, their movement more efficient and allow for more patience on their edges.
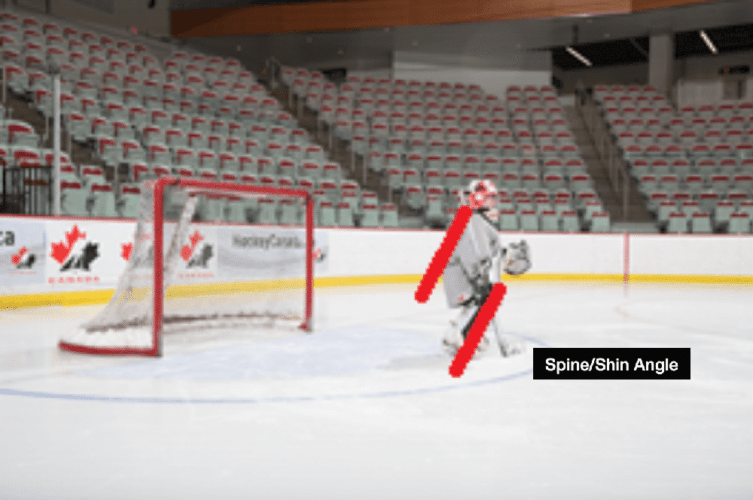
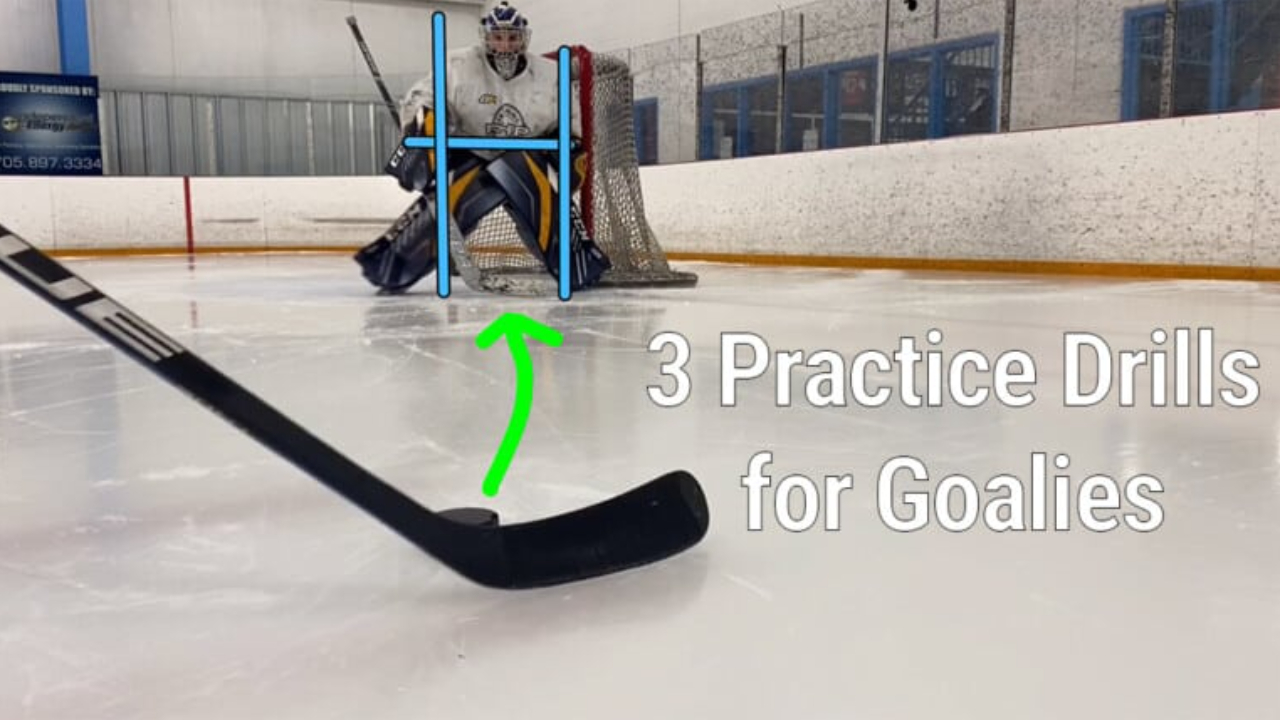
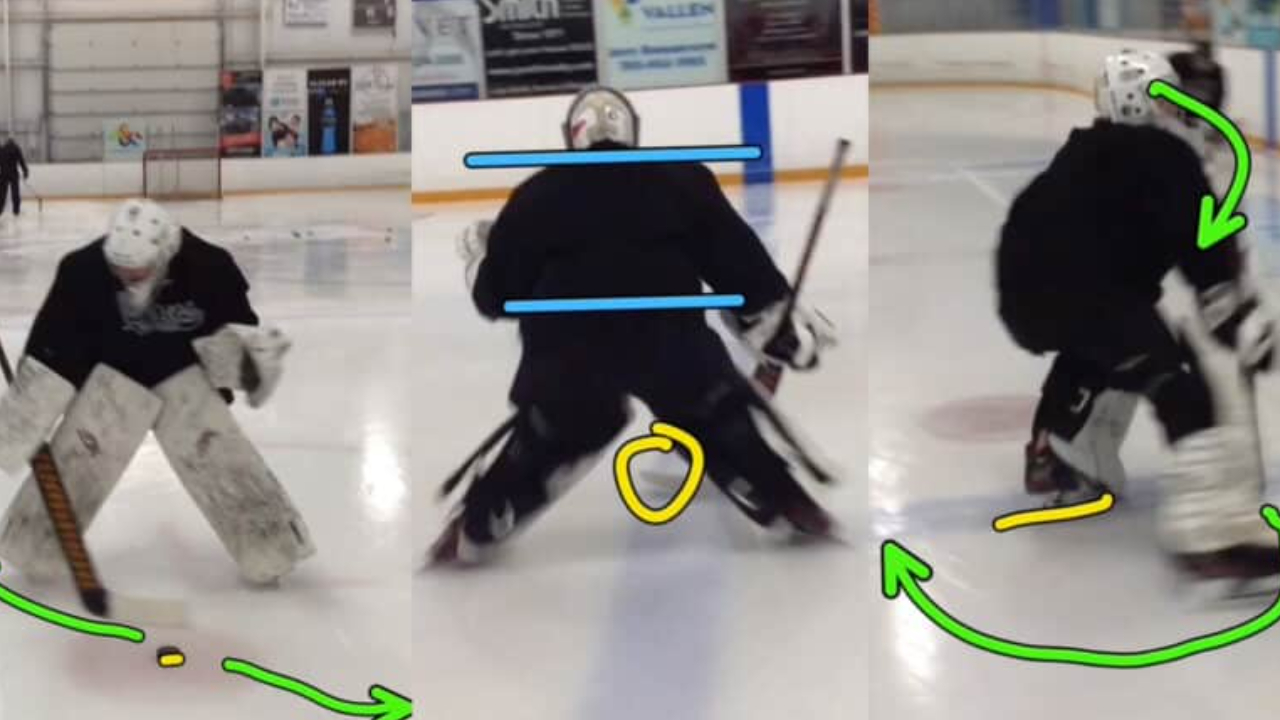
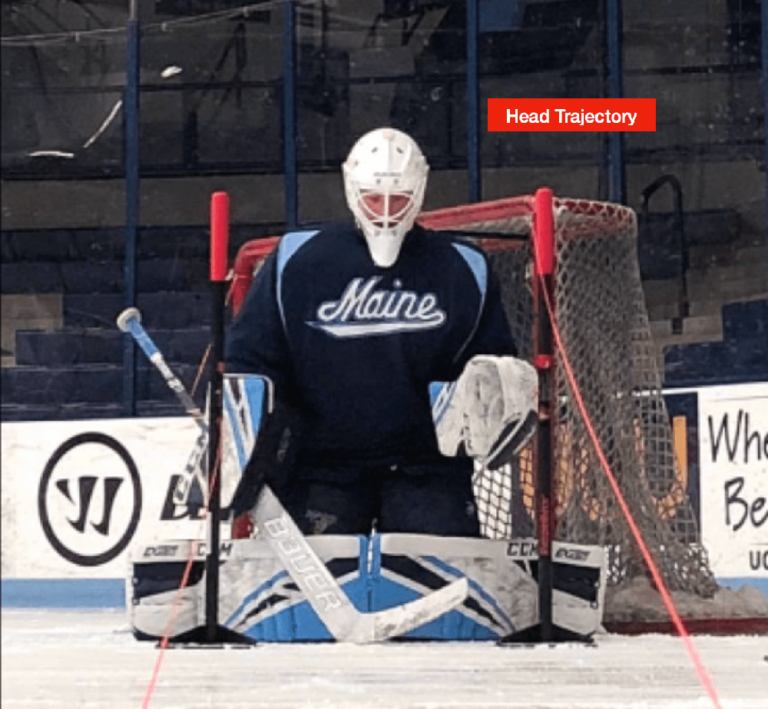
Over the past 20 years of coaching and scouting goalies, I can comfortably say there are as many variations in the stance as there are goalies. Every goalie is different, however there are some fundamental elements that are key to a successful, practical and efficient stance. To start there has to be balance, good posture and symmetry in the stance to minimize effort in movement and save selection. Everything starts in the feet/skates; if the skates aren’t parallel and the weight not over the ball of the foot, then you cannot execute with efficiency. The spine angle should match the shin angle, which helps create balance over the edges, as pictured above.
There are many goalies who play at a disadvantage due to poor posture, leading to inefficiency of movements. The shoulders should be parallel as well and the hands balanced and symmetrical at “9 and 3 o’clock.” Symmetry in the hands, slightly in front of the body and balanced is key for efficiency and execution of hand saves, as it minimizes holes through the body.
There are many different opinions on glove position, based on the height of the goalie, experience and optics of the glove height in relation to the puck. In speaking with baseball, specifically catching coaches, a balanced and relaxed glove hand is key. The glove should be at waist height, as relaxed as possible with out being sloppy and ready. If goalies are trying to place their hands at various angles or in any position above or below elbow height, it creates tension in the arm and reduces reaction time. If the body is unbalanced it creates many inefficiencies which lead to goals against.
The head/eyes need to be tilted down towards the ice. This is the basis of “Head Trajectory;” the eyes/nose/chin initiates all movement. The goalie needs to see the puck, with their eyes and shoulders over the puck to fill the most amount of net. As the head raises and lowers the eyes have to blur and adjust, which creates visual inefficiencies.
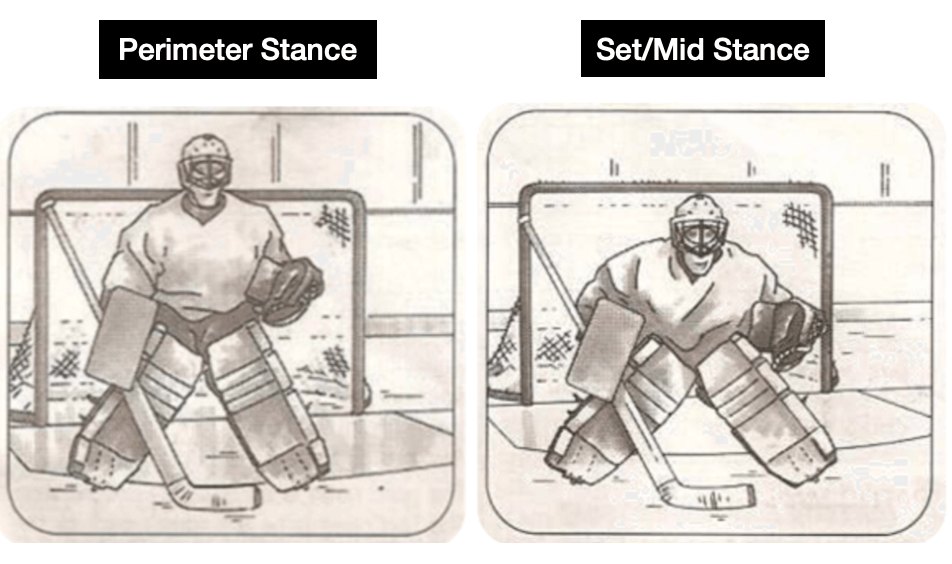
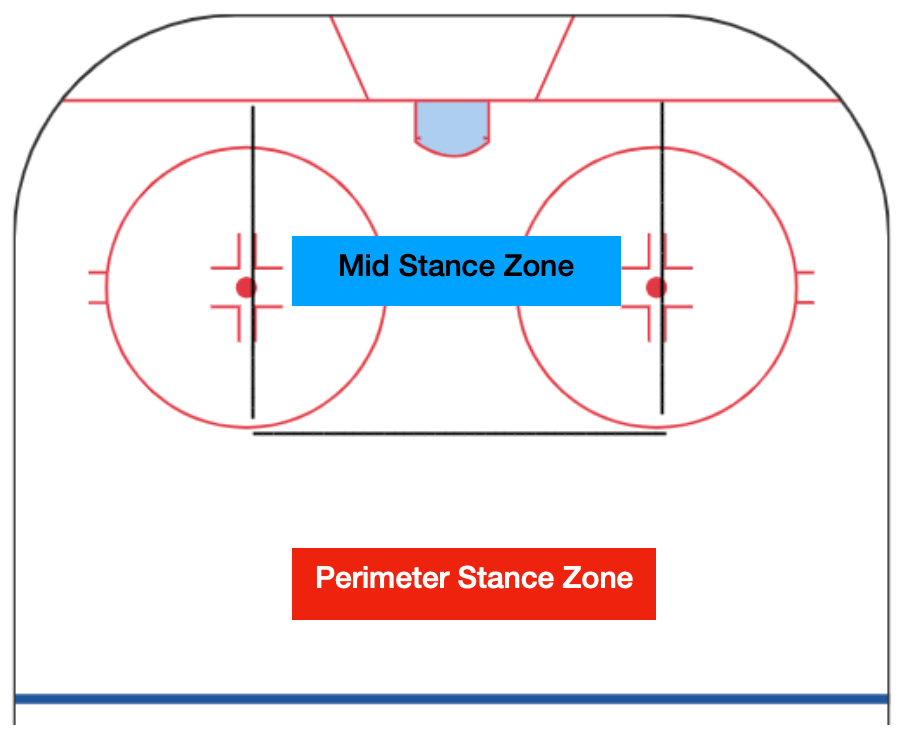
In the NHL and in many pro leagues, we are staring to see two different types of stances, the perimeter stance and the set or mid stance. What the best coaches and goalies have found is that if the puck is above the circles or outside of the dot lane, the goalie can take a slightly taller and narrower stance (perimeter stance). The goalie is slightly taller in the chest and the knees. This allows the goalie to be in a more relaxed but ready state, allows them to get better visuals in traffic and having less tension in the body helps goalies track off the puck. Goalies have been told for years, to “get set” once the puck is in the zone. The issue with this has been fatigue, both mentally and physically. Young goalies struggle to stay engaged in their stance for the entire time the puck is in play below the red line. In adopting the perimeter stance, goalies are in a set a ready position, that will create less fatigue. When young goalies are low and locked in, they tend to get tunnel vision. The perimeter stance will have the goalie in a more relaxed state than the set stance, where we can work on tracking off the puck and can allow the goalie to hold their edges better when moving. In the perimeter stance, movement on the skates (standing) is easier, when low and locked in most goalies put themselves in a spot where their only option is to slide on a pass, regardless of puck proximity to the net. Therefore in developing and utilizing the perimeter stance we can help teach goalies patience on their edges and increase efficacy of movement.
Jake Allen Examples
The first video we see Jake Allen of the Montreal Canadiens, the video starts low in the zone, but still highlights the different levels of the stance used.
Traditionally there was only one stance on your feet and one in your butterfly. First we see how Allen takes a lower and wide stance with the puck behind the net, this allows him to get his eyes under the bar. As the puck moves around the boards and up to the defence, we see Allen narrow his feet and get taller through his thighs and spine. Allen remains in an active ready stance, but is more “relaxed” and taller, which allows him to scan off the puck easier. The taller stance makes Allen lighter on his edges, lateral adjustments are easier and therefore create more confidence in mobility and leads to patience on his feet. When the shooter commits to shooting, we see Allen get low and ready in anticipation of the release and make a low controlled save. With younger goalies this sequence will take time, the most important piece is that Allen is always ready to react. Allen is not loose and relaxed, his in a taller stance, which helps relieve stress on the legs but still allows his to react or snap into a tight butterfly.
Juuse Saros Examples
This video is of Juuse Saros of the Nashville Predators. It is important to show how Saros effectively uses his body and is not limited by his size.
We see the play develop down the wall, Saros meets the attacker in the white ice, is his parameter stance (tall/narrow). Saros is able to see how the play will develop, clearly identifies that the puck carrier is waiting for F2 to enter the zone. As the puck carrier starts to drive across the top of the zone, we see how fluid Saros is with his shuffles and remains ready for anything. Once the pass is made, Saros identifies that F2 is going to shoot and gets low and locked in (active stance) and neutralizes the shot on his body.
Practice Drill
This is a simple drill that will allow all goalies to develop a parameter stance into their game.
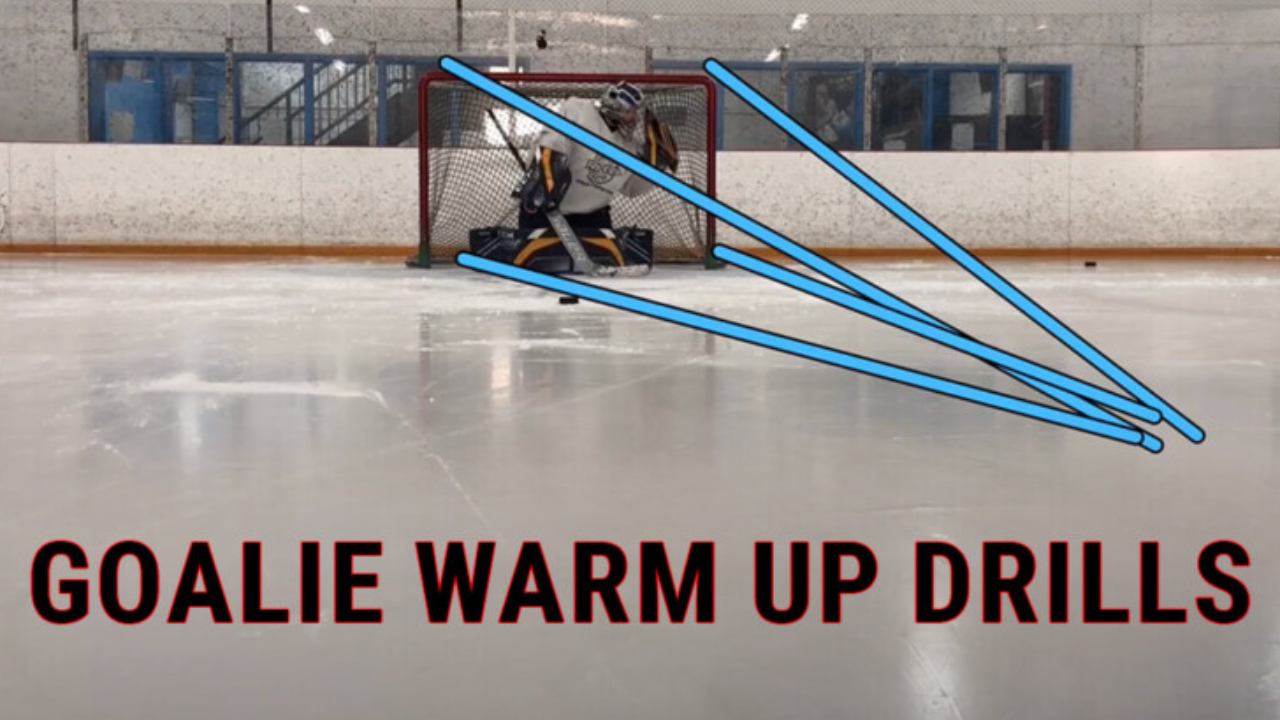
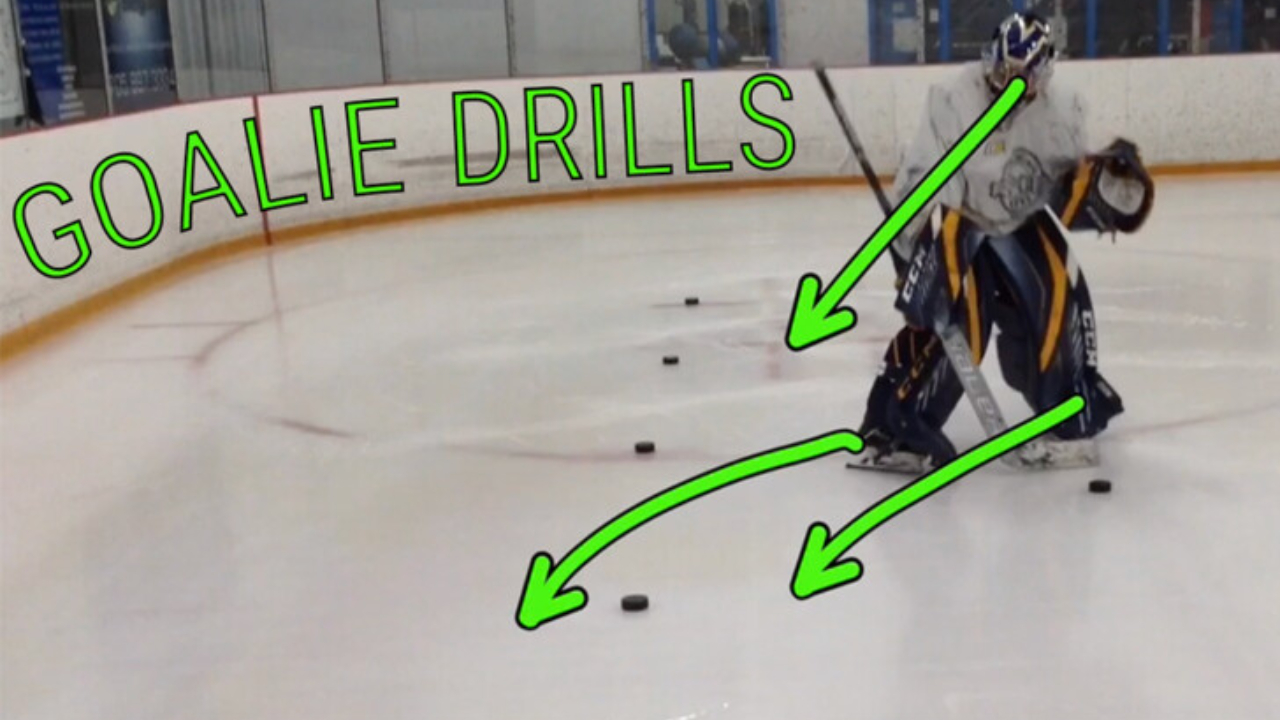
The goalie in this drill is focusing on drifting into position and setting as he reads the release. With younger or less experienced goalies, you want to start the shooter above the circles to give them time to read the release. We do not want the goalies dropping on a high shot and trying to make a save over their shoulder while in the butterfly. The focus is patience and reading the release. We want the goalies to become comfortable and confident on their edges, reading the release and trusting that they can get down on a low shot.
The drill starts with the goalie on the goal line and drifts to the tope of the crease (pushes out on inside edges). We want the drift to create patience and encourage the goalie to focus on the blade and the stick pre-release. In the video our goalie is playing college hockey, so we pushed him by having the shooters in the hashmarks. With younger goalies we want the focus to start with a simulated zone entry and develop reads off the perimeter. If the goalies struggle, push the shooter back. We want to make sure the goalies are focusing on patience and reading the release. Progressions would be drifting out to a mobile player off the wall above the circles, then adding a pass to an F2.

