Taking an NHL drill and making it useful for youth hockey practice is the name of the game.
As with most coaches, I am often looking for new drills to not only keep practices fresh and interesting, but also to continue in the development of the players on my team. Yet, like I discussed in a previous blog, sometimes drills on The Coaches Site don’t transfer from age level to age level. Other times, as discussed here, they might be full-ice drills and I only have half-ice to work with.
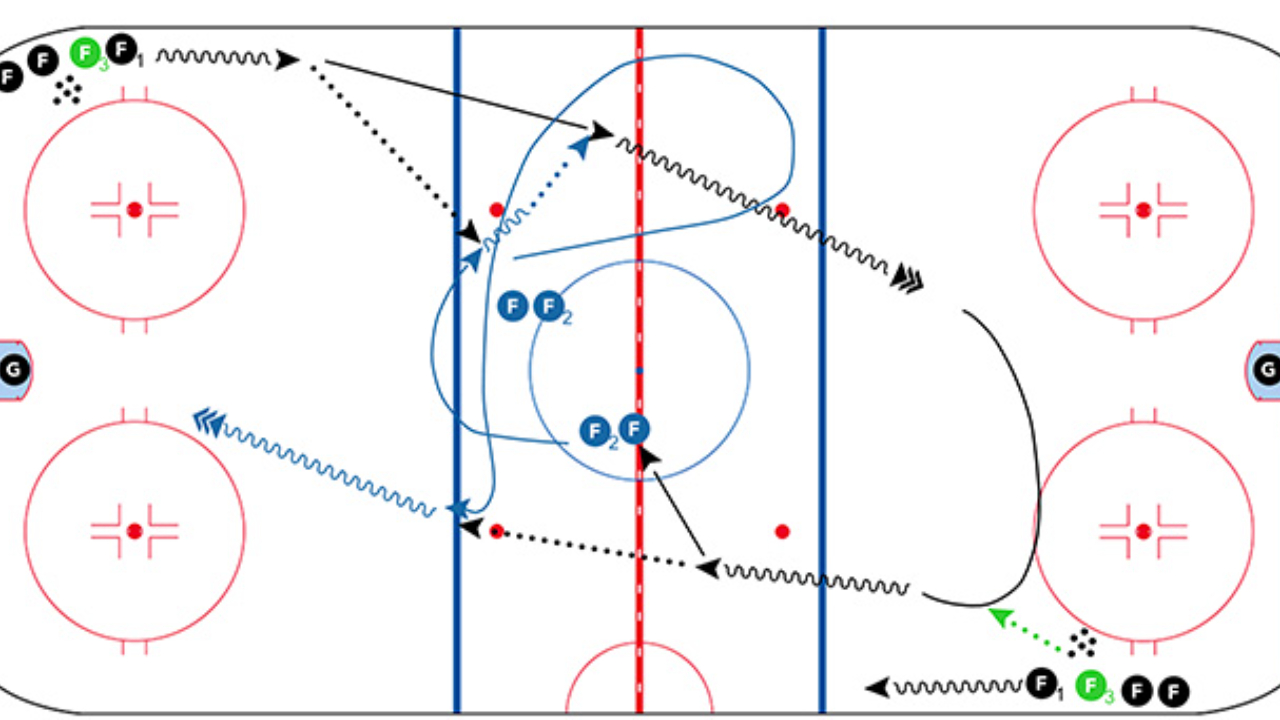
That is exactly what I found when I was hunting for a drill to help teach my 10U team about defensive gap control. I found a great drill in the Figure 8 Gap Drill, but discovered quickly that for this age group the drill might not work as planned. First, I only have half-ice to work with, which is more than doable in this drill, yet I also found that with the even small number of steps, this could be too much for the age level.
For starters, the first step in the description is that F1 should skate at 50% speed. When working with older age groups, asking them to skate slower so that a drill can be properly accomplished isn’t much of a risk, but if you teach a 10-year-old to skate slow in a practice, you better believe that is what they will bring to a game. Our mantra is always that we must practice at the speed we play.
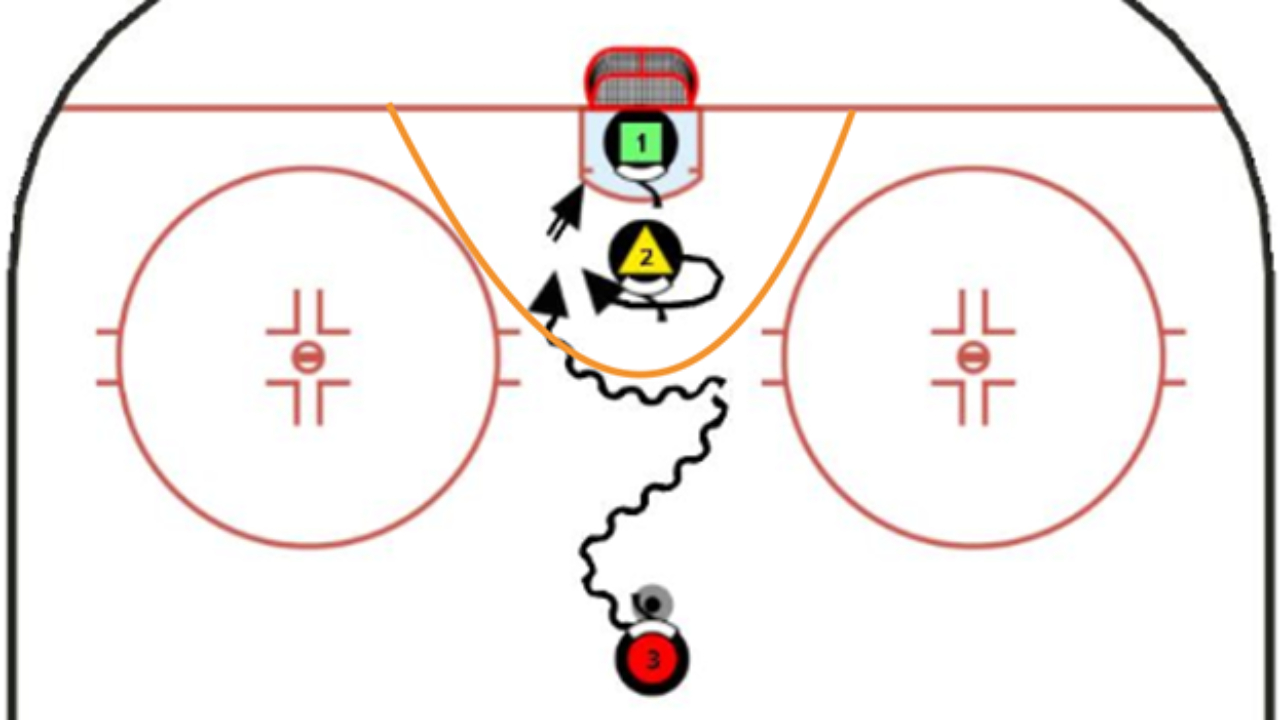
The second video and drill I found was Defensive Gap Control with Coach Nolan Pratt. In this drill, it does a good job of putting the defense in a position to deal with an attacking forward, but it does include a few too many steps and a few instructions that do not mimic a game like scenario, which will often confuse younger players, especially those at the 10U level.
This drill does incorporate passing, a breakout, but does lack a little in decision making, which again is fine with older players more often than not but can lead to younger players lacking the decision-making skills when it comes to game time.
So, if the purpose of these drills is gap control for the defensemen, it obviously must be puck protection for the forward skating in for a shot. So how do we accomplish this in the same way this drill does for a younger audience with less ice to work with?
Inspired by these drills, we started using the Choose Your Gap drill. Because ice can be limited, any drill that brings in multiple elements is best, and we worked this one out to include passing, decision making, gap control, puck protection, and even a shot if the forward wins out.
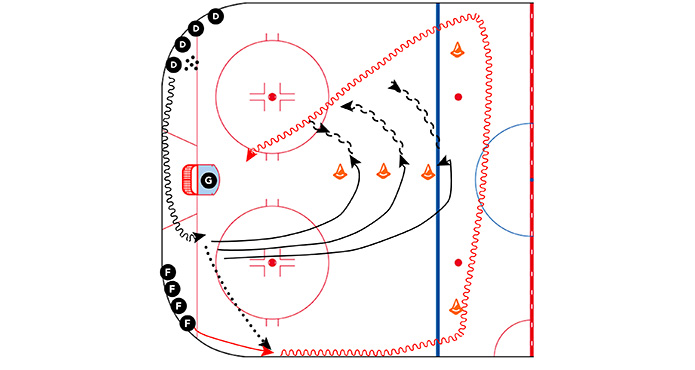
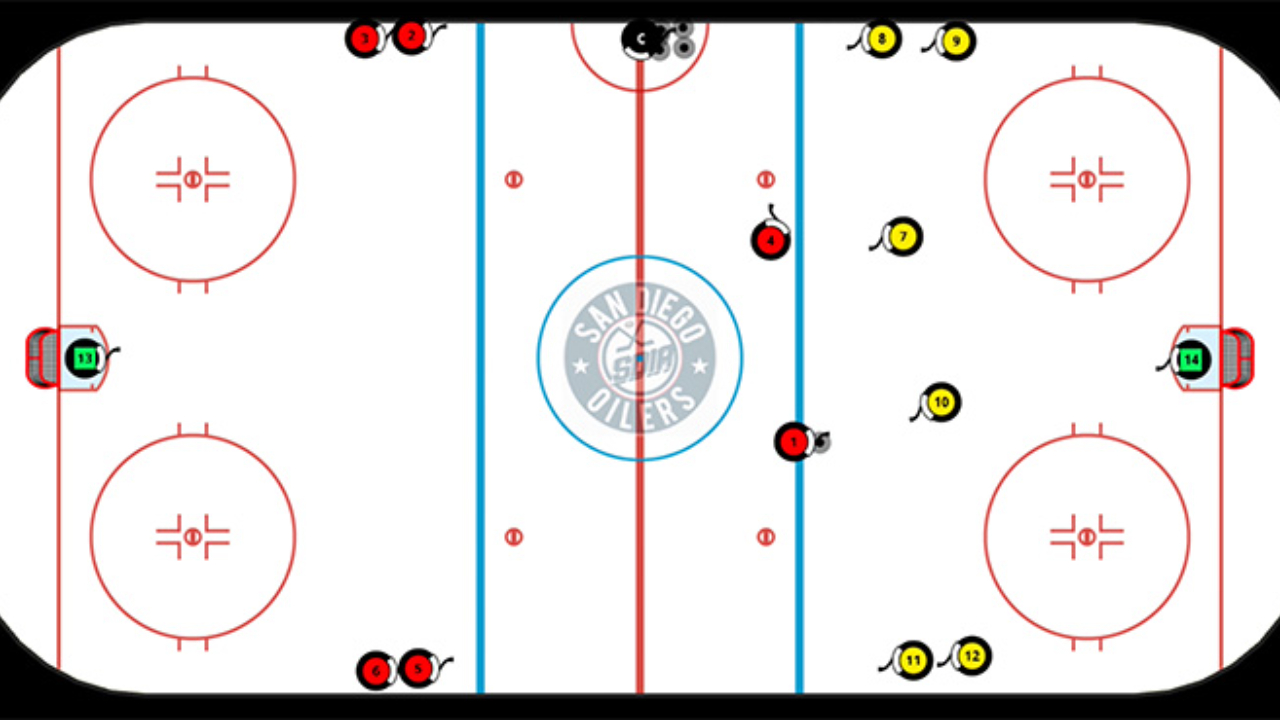
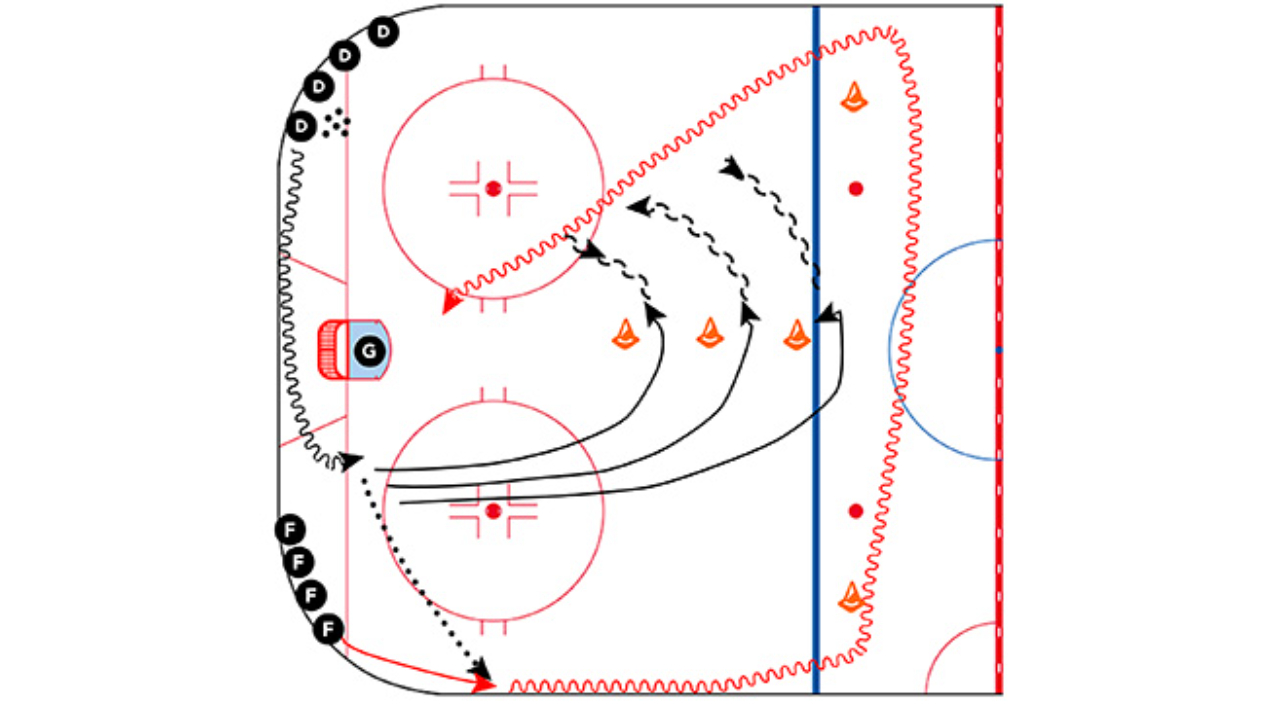
In this drill, the offense and defense line up in the corners, defense with the puck. On the whistle, the defense skates behind the net and the forward heads up the boards for the breakout pass. Once the pass is made, the forward skates around both cones and enters the zone to crash the net. The defense must watch the forward and decide which cone in the middle of the ice to go around to match their speed, catch them, and utilize gap control either skating forward or backwards to push the player to the outside of the net, forcing a bad shot or no shot at all.
If the defenseman chooses the lower tire because it’s easier, but reaches the tire too early, they will find they are standing flat footed as the forward comes in with speed and they won’t be able to utilize any gap control to stop the attack.
If the forward doesn’t come in with enough speed, they will find the defensemen is able to track them easily every time and meet them as they enter the zone and their chances of scoring drop dramatically.
Now, with this drill we have been able to better demonstrate choosing a gap, maintaining it, and showing what happens when either defense or forward play a slower or lazy game and how the other player can take advantage of that situation.
As the kids get older and their skills continue to develop, the Figure 8 Gap Drill and Coach Pratt’s drill become the natural progression in which the drills will continue to push them and expand their ability to play defense and maintain great gap control.

