The power play is always a popular topic of conversation among hockey coaches.
The power play is always a popular topic of conversation among hockey coaches. We often look at the stats, compare with other teams, and look at video between periods. Hopefully, this article will help you to understand some areas of different teams power plays and what they have done to be successful.
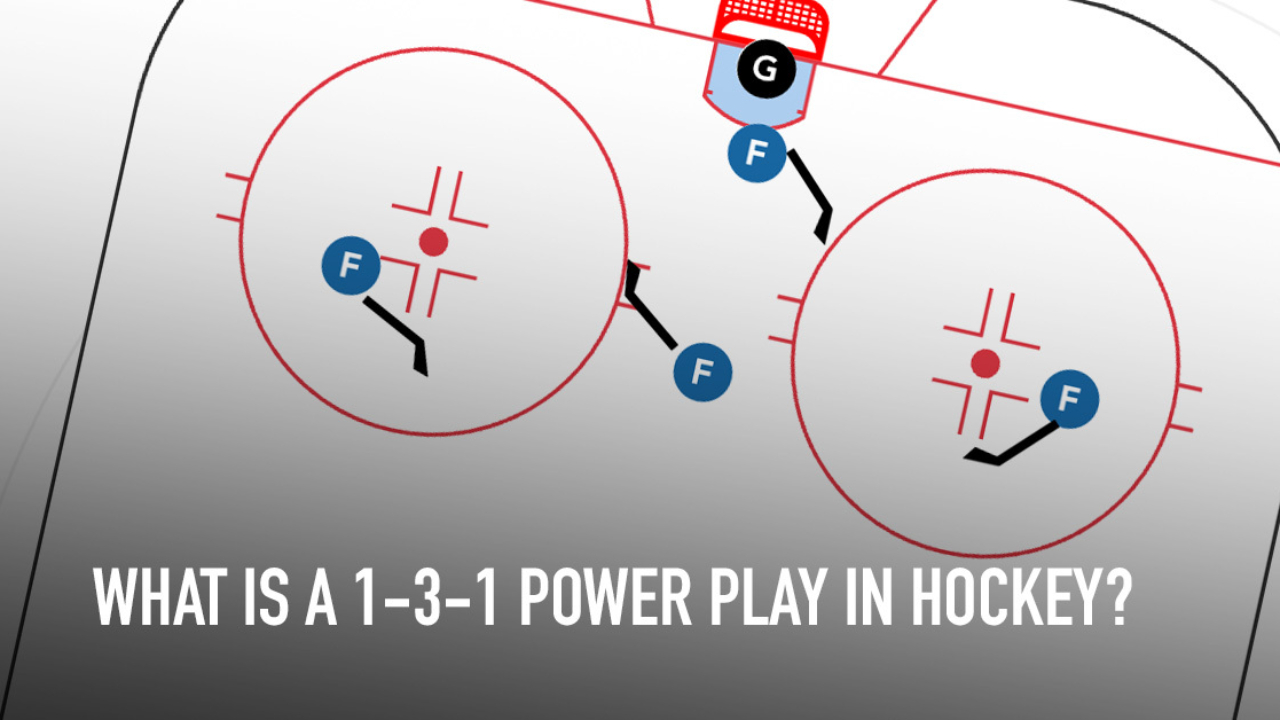
Nowadays, most teams use the 1-3-1 power play setup.
In this article, we’ll breakdown some strategies to use on the 1-3-1 setup with videos from the World Juniors and the NHL. Obviously, we can spend hours watching and showing videos, but the most important is to be able to understand them and be able to execute them.
Bruce Lee once said: ‘’I fear not the man who had practiced 10,000 kicks once, but I fear the man who has practiced one kick 10,000 times.’’
In other words, having too many options and patterns is not a recipe for success.
Here are five areas of the power play to focus on.
1. The bumper role
If you ask a hockey player where he/she wants to play on the power play, net-front presence or the bumper role are not usually on the top of the list.
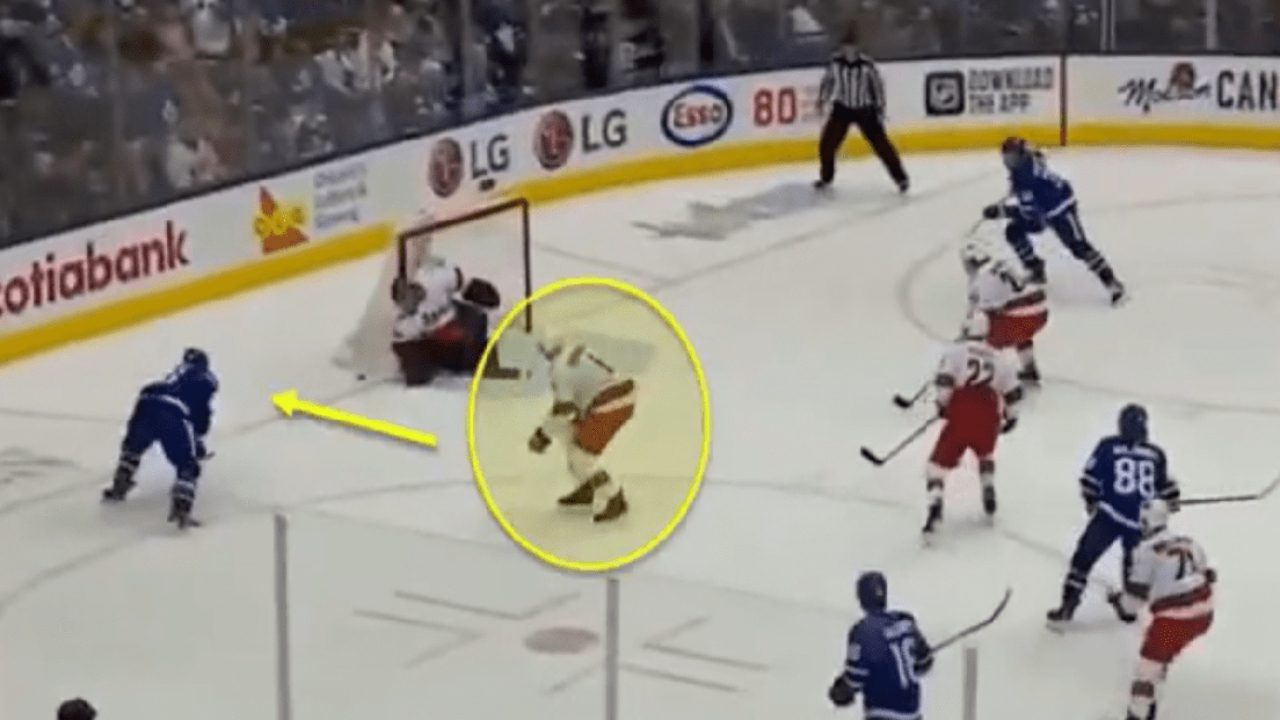
Yet when we breakdown a power play, the bumper is often the most important player on the ice. The bumper has to be ready to support, redirect the puck from the flank, draw players, or even to score off the rebound.
In the first video, we can see CAN9 being a low/mid/high bumper. He is always ready to tip the puck and pop out in the hole to support teammates.
In the video below, we will see LAK19 supporting and shadowing the puck everywhere in the zone and eventually deflecting a shot past the goalie. Second, we will see USA22 supporting on the blue line and help to relieve the pressure from CAN9.
Third, we can see CAN29 trying to pop out for an option from the half wall. After CAN11 makes the pass to the top, CAN29 stays there for a pick that allows the QB to have more time and space for a shot on net.
In this third video, we can see CAN10, CAN9 and CAN17 reading who will get the puck. If the QB makes a pass on the one-timer side, they will go to the net for a tip, screen or rebound. If the QB moves the puck on the strong side, the hole player will stay as an option.
In the last video, CAN9 is popping out high and behind the flanker to create a 2-2-1 setup. We can see in both videos, the bumper allows the opposite flank to be wide open in the seam.
Next, we’ll see an example of the bumper being in a spot for a one-timer. The flankers FLA11/FIN27 are scanning the play/zone with their eyes instead of turning their heads and using their peripheral vision to tag the bumper.
2. Playing below the goal line
How many of you tell your players to be on the defensive side or to stop watching the puck? What happens, even at five-on-five, when the puck is below the goal line?
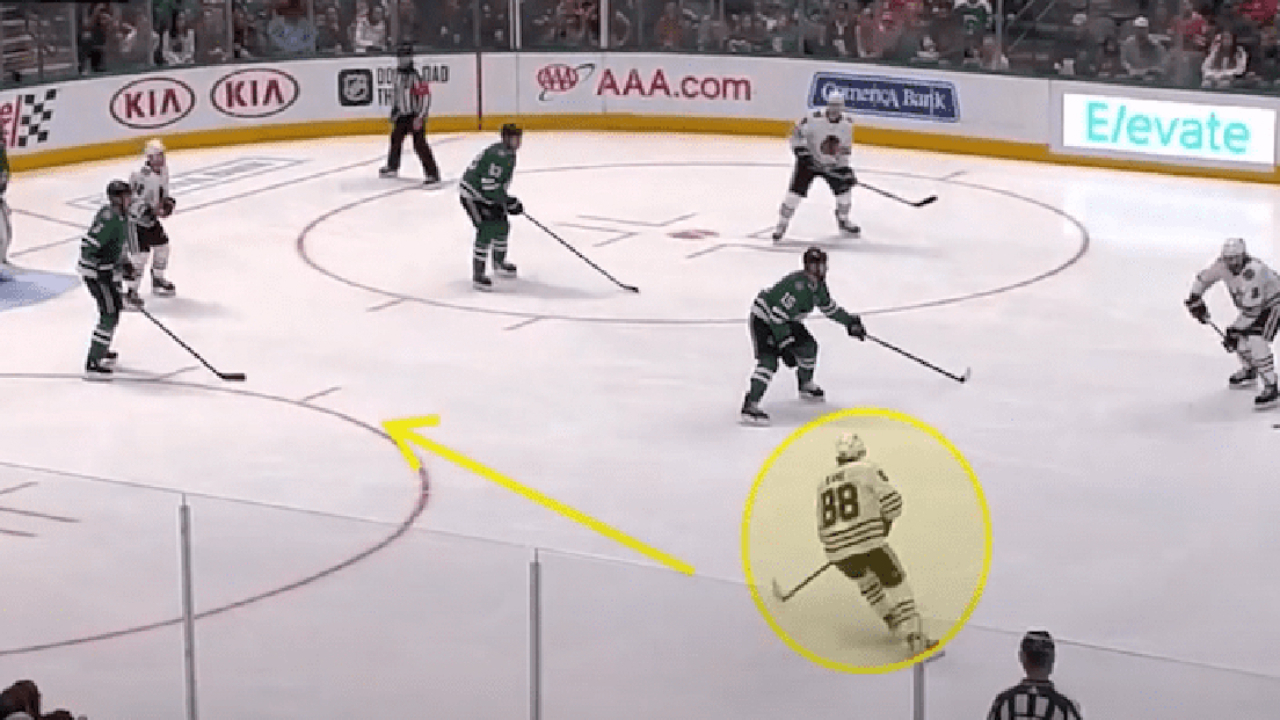
Defenders are all watching the puck and lose sight of the opponent. If we bring that mindset into a 5v4, playing below the goal line, opening the dot lane for a one-timer can create confusion.
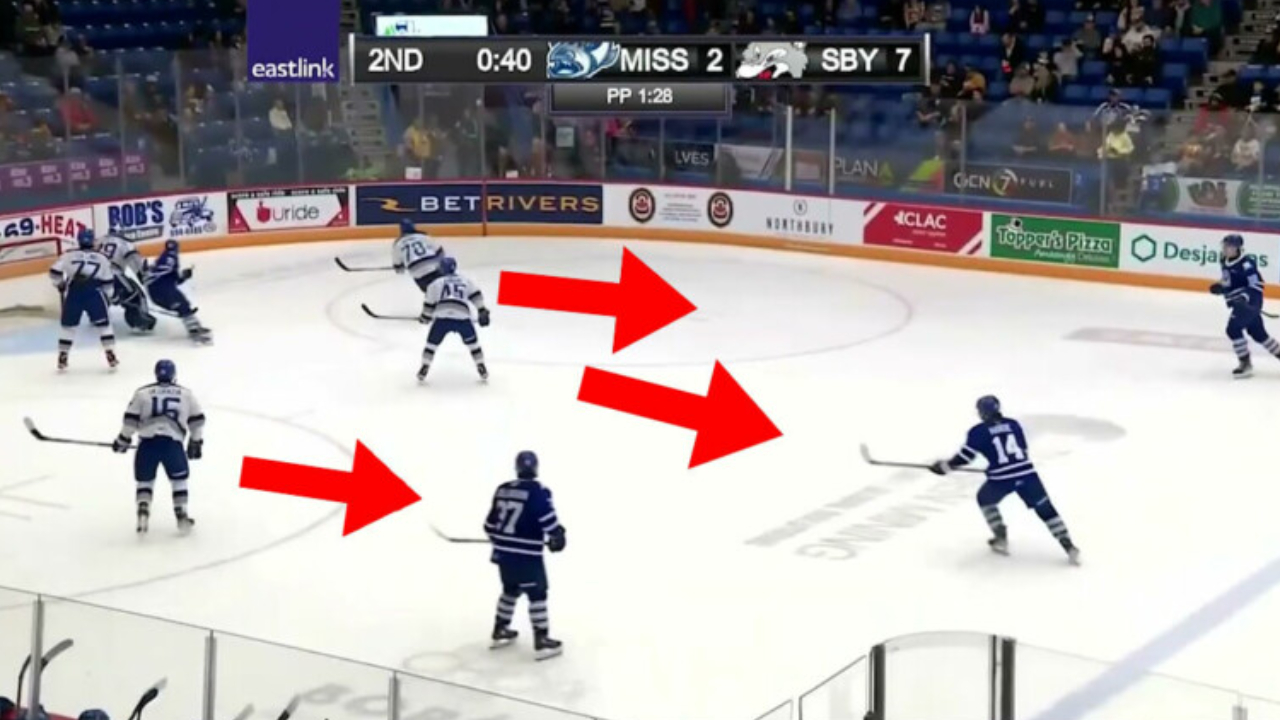
In the first video, we can see WPG81 giving an option below the goal line and switching sides. At the same moment, WPG26 is going downhill, ready to hammer the puck. Look at the four Minnesota Wild players, all looking at the puck and leaving the dot lane wide open.
In the second example, TOR91 gives an option on the goal line and switches sides right away. Even if the Devils are doing a decent job, the dot lane is open and allows Toronto to use the width of the ice and score a goal later in the shift.
In the next video, Russia is playing below the goal line. The dot lane is not open because they didn’t switch sides with speed. Instead, their flanker gets low, and they can use him right away.
In the second example, we can see CAN22 getting low and receiving the puck. At the same time, CAN9 stays outside the dot to be an option. CAN27 sees that there’s not a lot of options, we can see him getting low to be an outlet down low. It allows Team Canada to spread the penalty killers.
In the third example, we can see CAN9 and CAN27 getting low as CAN27 is switching sides. It’s important to have an option and to use the width of the ice.
3. The power of a wrist shot from the blue line
Sometimes, we overthink who should play where on the power play, and we forget that we don’t need five all-star players.
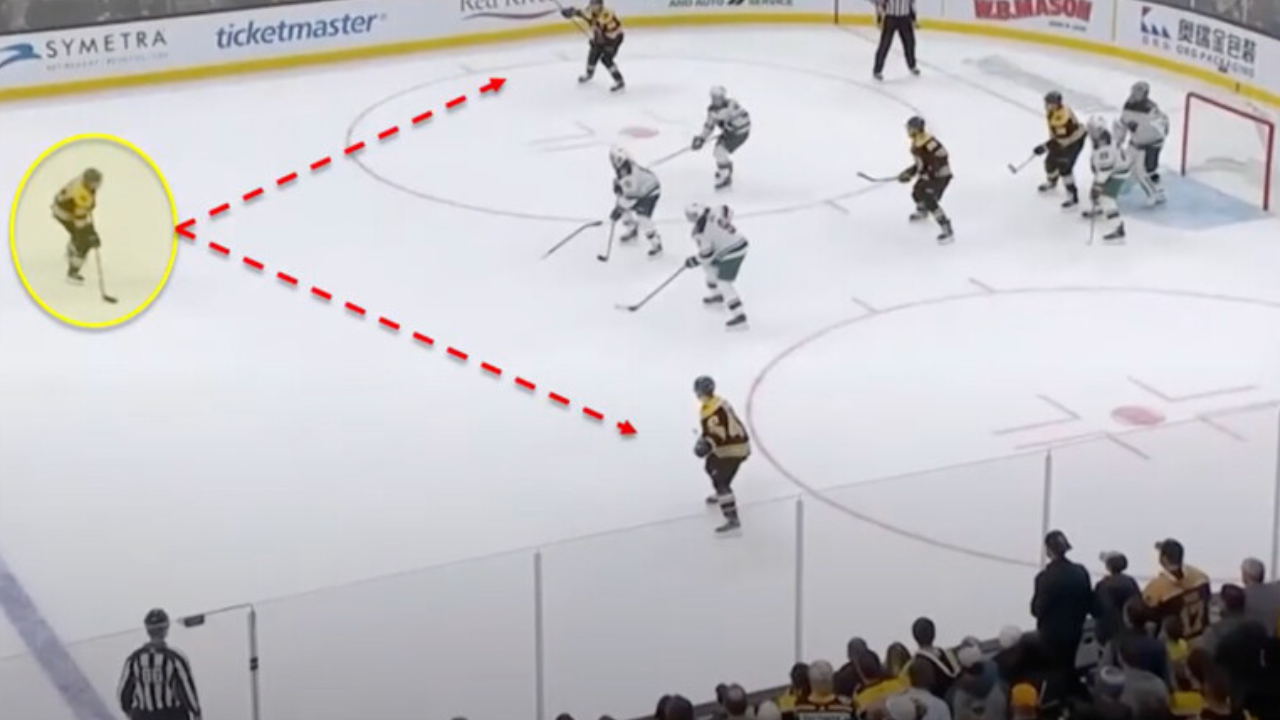
We will go through some videos to show that the QB could be a real threat from the blue line. We will see in the video below that the QB is not only a puck mover, but he can be a threat to score from the blue line. It’s getting the puck in a threatening position that allows them to make a play (passing or shooting at any time).
In the first two examples in the video below, we can see the QB walking the blue line and taking a wrist shot for a tip by CZE21 and USA22.
In the third example, the QB is a threat with the puck from the blue line by making passes and being ready to shoot. We can see CAN17 and CAN22 trying to tip the puck for a goal.
In the fourth example, we can see the QB not losing any time on the blue line. After receiving the puck, CZE23 sees a great goalie presence (double stack) and shoots at the net right away. The Czechs score off the rebound.
Being a threat on the blue line allows for more options. We can see in the next video that when the penalty killer tries to cheat high, it opens the flankers. Now they can make a pass to the strong side or the one-timer side.
4. The L pattern
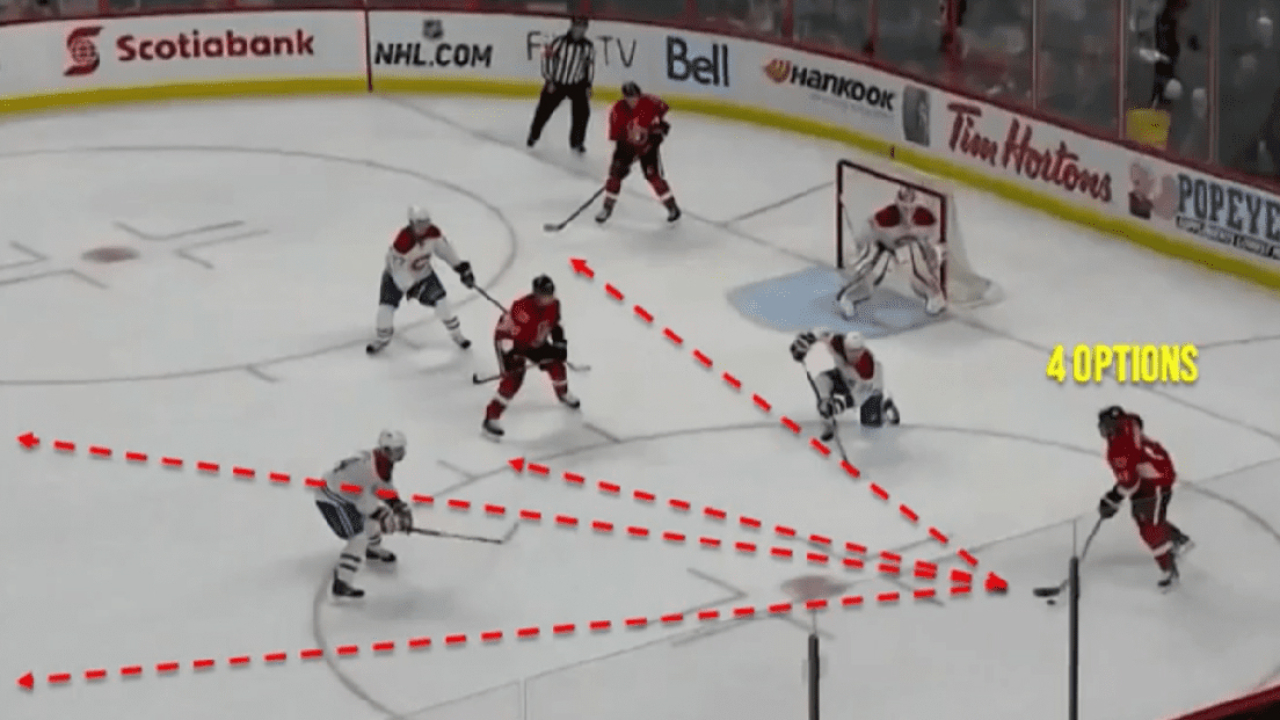
In the NHL, trigger moments are huge, we can see a lot of teams on the PK sending two and three players in the corner to shrink on the puck. When it happens, they don’t have a lot of options because usually, you have six players in the corner.
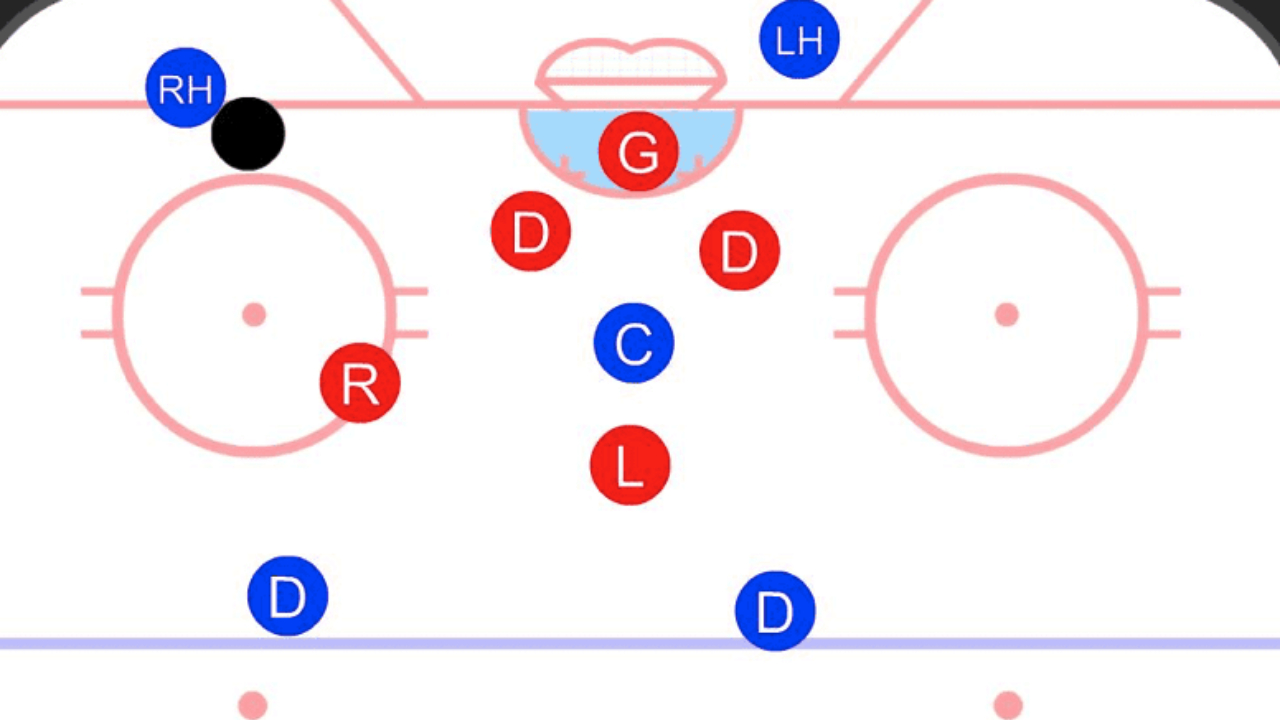
A good way to release the pressure is the L pattern, a low to high pass (tape to tape or rim) with a quick D to D. It allows the team on the PP to have the puck away from the penalty killers and to attack right after. You can even make the same pattern by skating downhill and bringing the puck back on top.
In the first example in the video below, we can see Team Canada making a low to high with a quick cross-ice pass. They could attack right away or even make a seam pass. Look how they are able to spread out the penalty killer coverage.
In the second example, we can see Team Russia doing the same thing. In the third example, Montreal is carrying the puck low. With no option, they bring the puck back to the top. It’s a quick cross-ice pass to MTL6 for a one-timer.
5. Plan on the faceoff
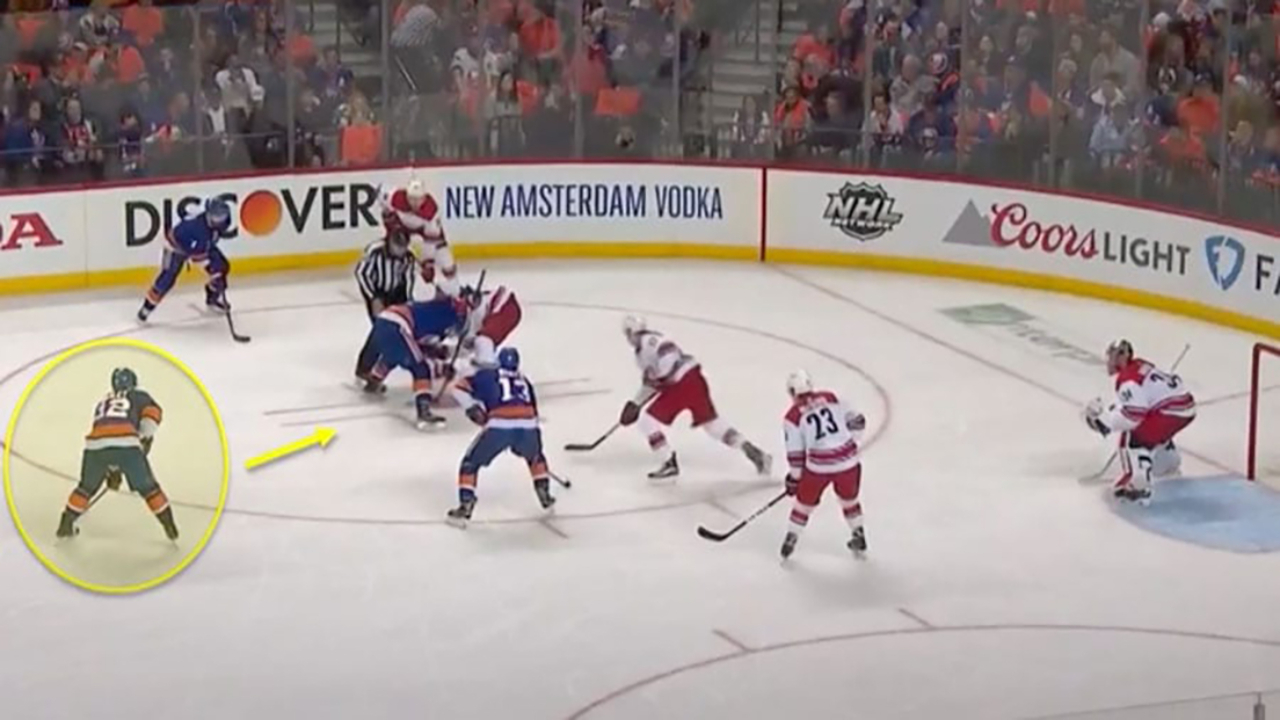
The first 10 seconds after a faceoff are crucial for players on the power play and penalty kill. It gives time for the PK to set up or for the PP to attack.
In this video, we can see five goals coming right after a faceoff. Boston scored five PP goals in the last three weeks off a faceoff.
Boston is not the only one. We can see below that many teams are attacking right off the faceoff. Sometimes, it’s not a set faceoff. It’s all about moving the puck quickly and having a shot on net before the PK has time to set up and also being first on the rebound for a goal.

