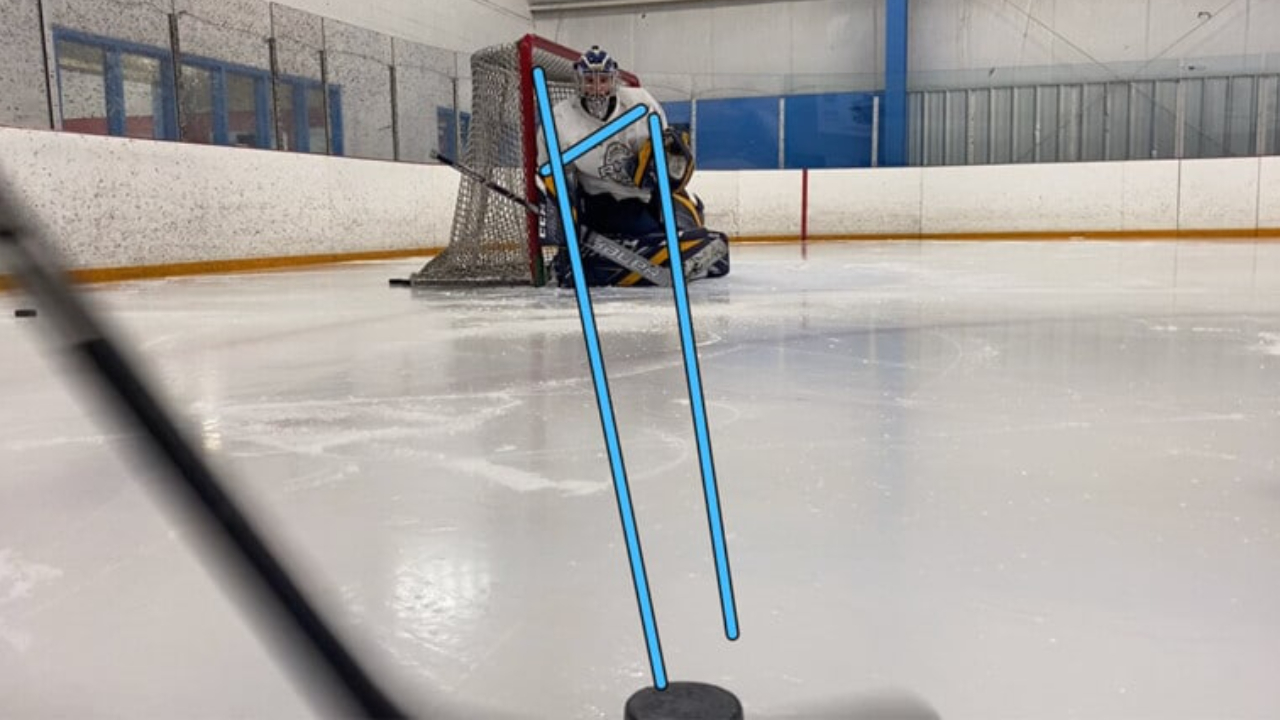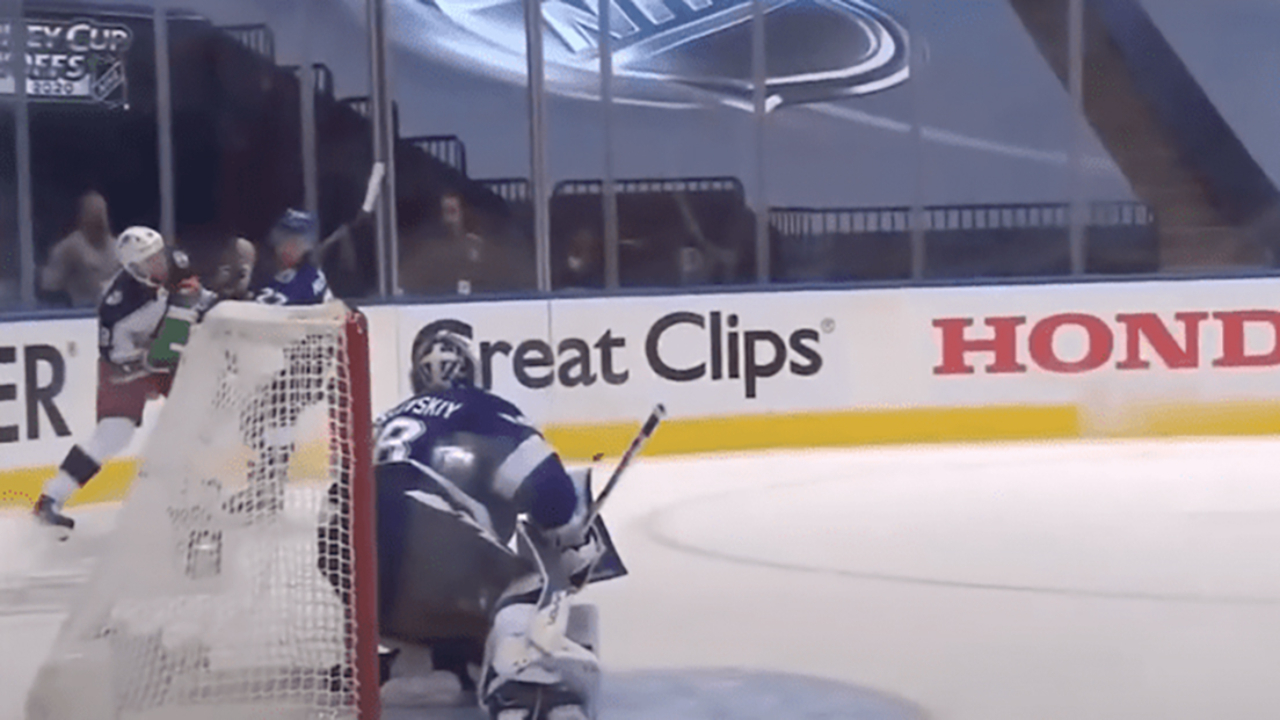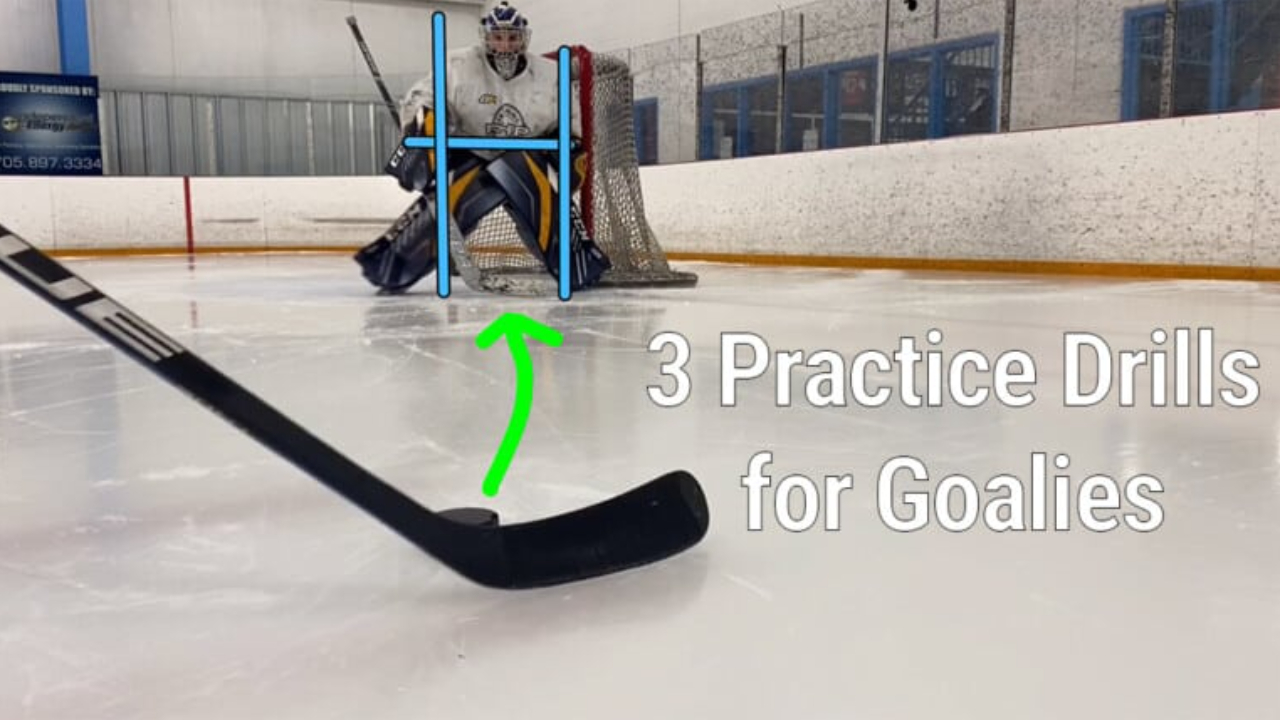
The Overlap is used on a play that transitions from a bad angle to a dead angle, usually off the rush or zone entry.
The Overlap (OL) is a dead angle post play, that has been around for a while, but does not receive much focus. We are starting to see goalies use this more, especially in the recent IIHF U20 World Junior Championships. Originally the overlap was a save selection that goalies used on a dead angle that pre-dated the Vertical Horizontal and Reverse Vertical Horizontal.
We are seeing some of the younger goalies starting to implement the overlap again as it keeps you on your feet and reduces the risk of getting scored on over the shoulder on a dead angle. The OL is used on a play that transitions from a bad angle to a dead angle, usually off the rush or zone entry. The OL allows the goalie to continue to adjust their angle and squareness with the shooter on the perimeter.
Overlap Examples
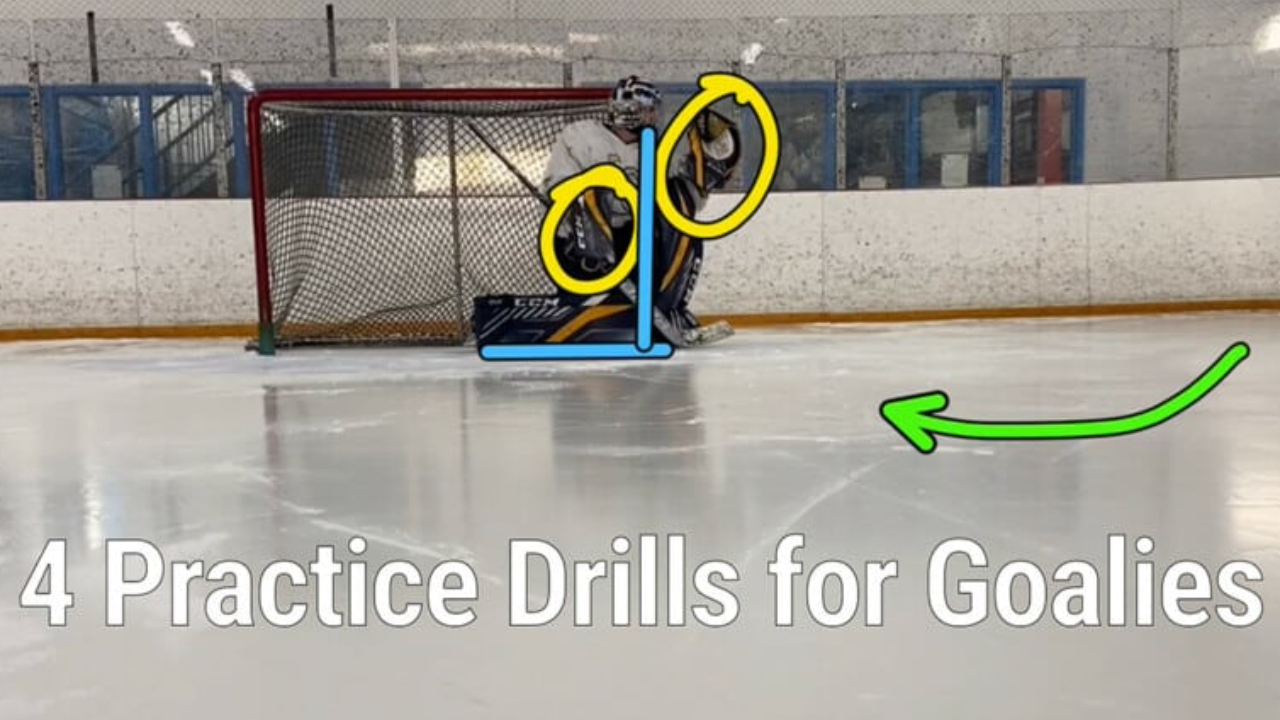
This video is from the 2023 U20 WJHC that was played in Halifax and Moncton. I wanted to highlight how goalies were using the OL more now, more specifically with the puck carrier driving down the perimeter with good support from the D. Thomas Milic is the first goalie featured in the video who employed the OL on different rushes with success. The second goalie featured is Jani Lampinen (Finland). When teaching the OL its important that the goalie becomes familiar with the crease and the location of the net, this is know as crease mapping. The OL specifically is when the goalie’s skate and part of their pad overlaps the post, if the goalie is unaware of their positioning they will give up the far side of the net and/or be vulnerable to a pass back door or warp around.
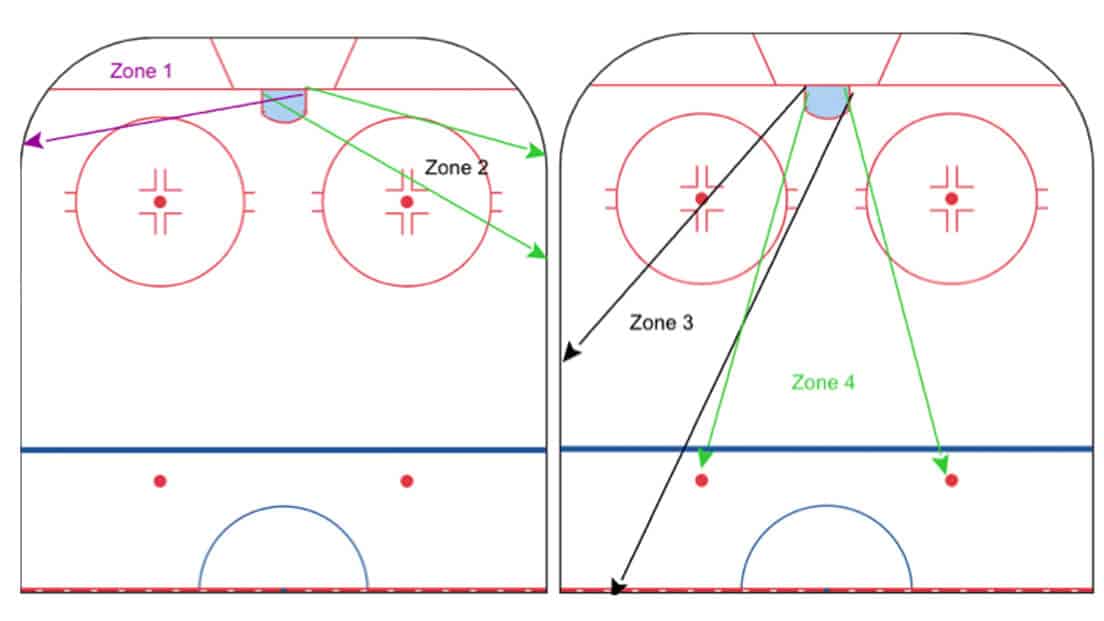
Zones 1, 2, 3 & 4
This is a system that I took from Mike Lawrence and Pro Goaltending, it helps the goalies simplify the play. The positions or footing are not absolute but help the goalie create a starting point for plays entering and in-zone. They will always be adjustments for optimal position, but if we can simplify positioning then the goalies will be able to quickly identify where they are and maximize tracking the play. Zone 1 is the space at either side of the net, from below the bottom of the face off circle to the end boards (Dead Angle). Zone 2 is on either side of the net, from the bottom of the face off circle to the face off dot (Bad Angle). Zone 3 is on either side of the net, from the face off dot in zone to the face off in the neutral zone.
Drill 1
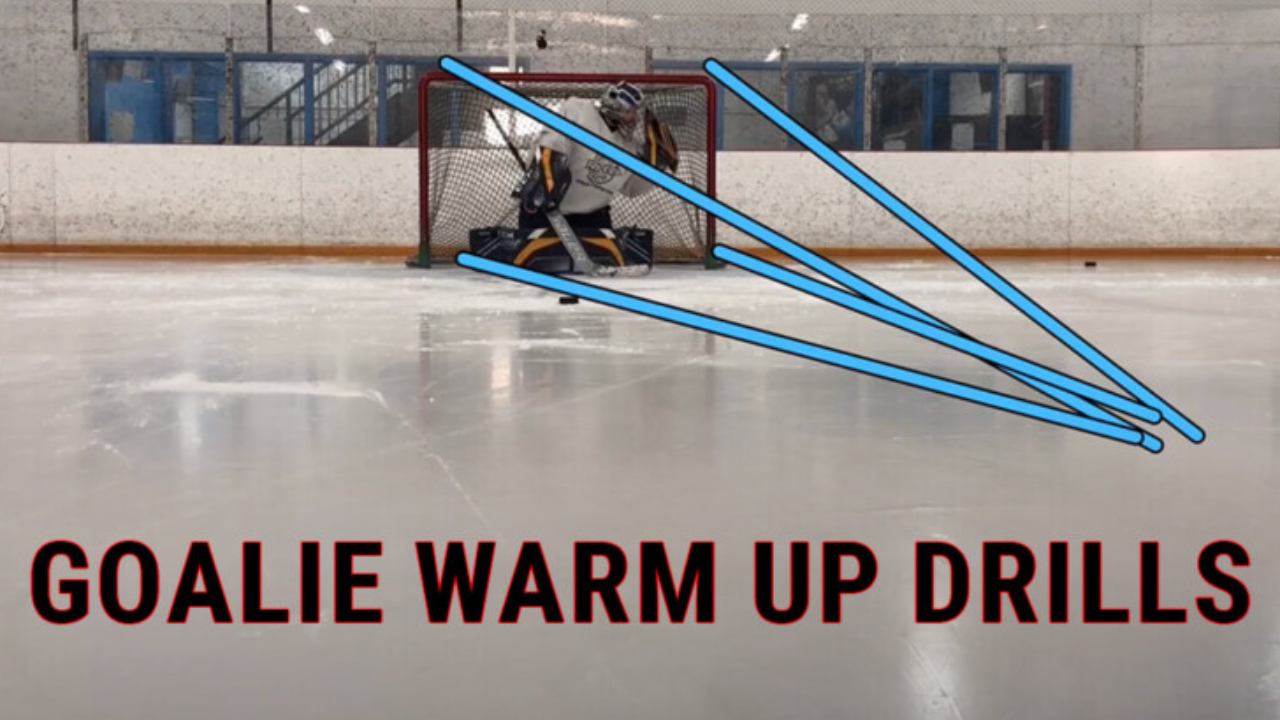
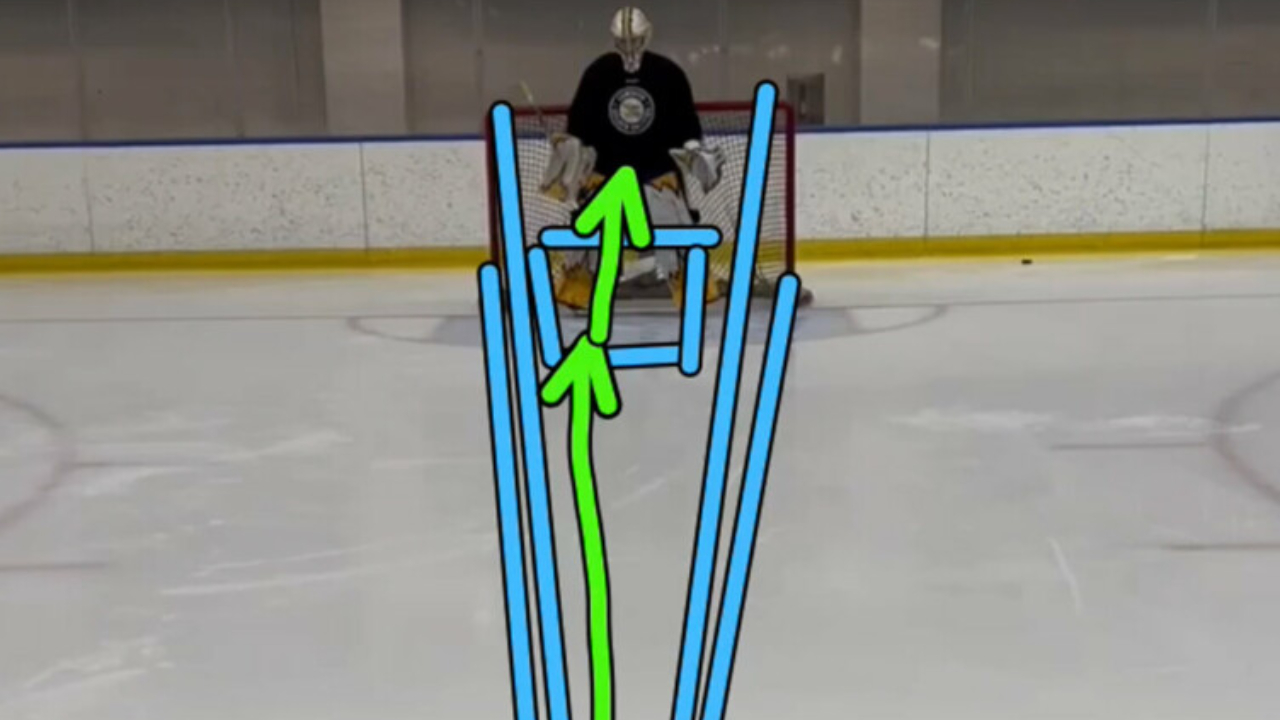
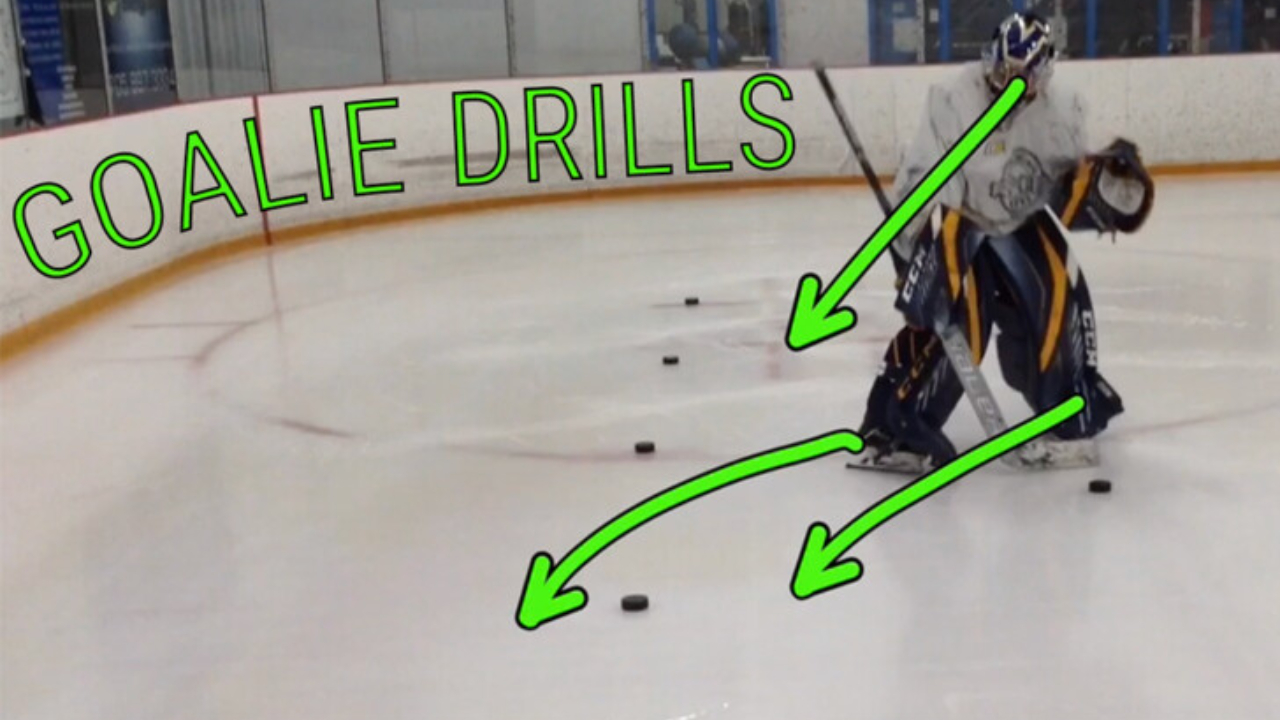
This drill simulates a high to low play, similar to a 1-3-1 or an umbrella power play where the winger sags down the wall trying to gain a better pass angle. The goalie starts either at top middle of the crease (zone 4) or off to the same side as the puck carrier, angled to play an entry outside of the dot lane (zone 3). On the coaches “go” the goalie adjusts their angle to the player at the hash marks near the boards or just below (Zone 2). The focus is shots from the perimeter and therefore the goalie would be in a narrowed stance but deep in the net (Conservative depth – See USA Hockey’s ABC’s of depth on YouTube). As shown in the video, the goalie does not need to challenge the shooter on this angle, but patience on the feet is paramount. The conservative depth allows for the goalie to be able to cover as much net as possible, while still having the possibility to react to any back door passes. Once the puck crosses the hash marks and enters the lower part of the zone, angle and squareness are an asset, depth can be a liability. Depth helps with 1:1 plays, when the numbers start to grow in favour of the opposition, challenging the shooter (depth/challenge) leaves you vulnerable to passes. Many teams focus on moving the puck across the mid line (Royal Road) to create offence. For goalies who are new to this drill, we have them move from Zone 3 to Zone 2 and have their skate directly hit the post and adjust forward slightly to an overlap position.
Drill 2
This drill is a goal line drill focusing on the goalie moving from a Zone 1 play (below the face off circles) to a Zone 2 play (bottom of the face off circle to the face off dot/hash marks). Some goalies struggle on these plays as they will get caught between challenging the shooter or wanting to use a VH/RVH. Keys to success are assessing the handedness of the shooter, position, “bumping” out to the overlap, holding edges, maintaining a conservative depth and scanning for F2 and F3 (secondary scoring chances). If the shooter drives and attacks the net, the goalie can quickly revert to zone 1 footing (both edges near the goal line) and play the shot (VH) or walk out/pass (RVH).
Drill 3
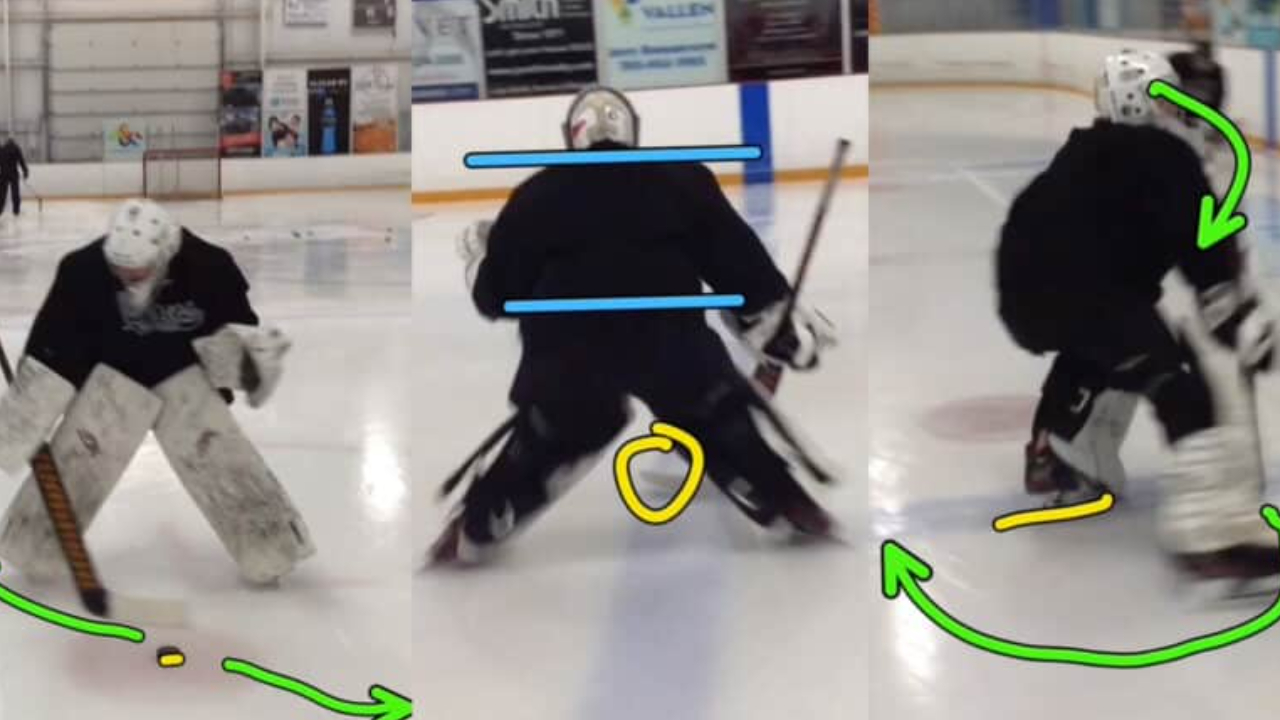
This video is from the Pro Goaltending camp July, 2022, This a Pro goalie from the National League in Switzerland working on tracking a play from Zone 3 to Zone 2. In this drill you can see the goalie establish their new position (Zone 2) three different ways. This is important as the game of hockey is very dynamic and goalies cannot be married to only one way of doing something. All three methods look similar and end up with the same result. The first method is where the goalie moves from Zone 3 to Zone 2, back towards the post, their skate hits the post and they “bump” out to establish conservative depth, but are able to butterfly “normally”. The second method is where the goalie is simply able to adjust from Zone 3 to Zone 2 “landing” in an Overlap position at a conservative depth. The third method is more advanced where the goalie moves from Zone 3 to Zone 2, lands on the post and holds their position in a taller narrower stance (similar to a perimeter stance that we are starting to see from more pro goalies). The goalie can still butterfly from the narrow stance but they will have to drop knees forward to hold their position. If the goalie drops traditionally in this position (feet flared) they will push off the post giving up the short side of the net.

