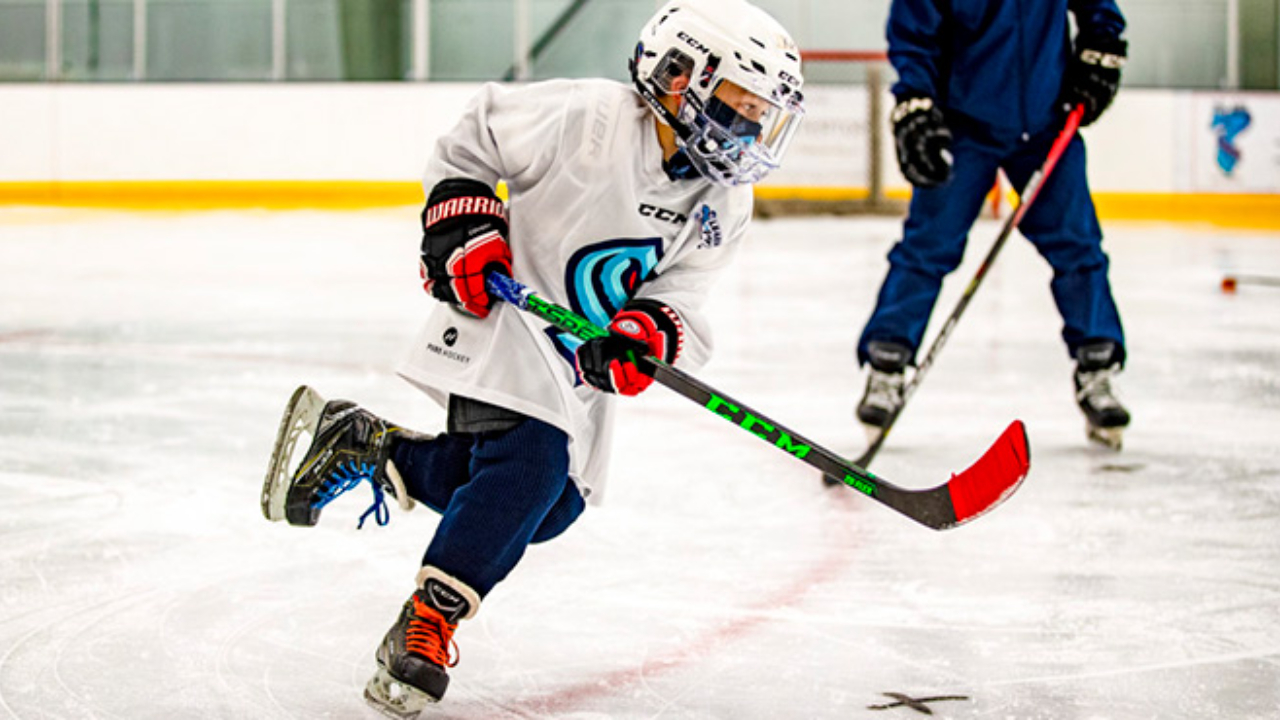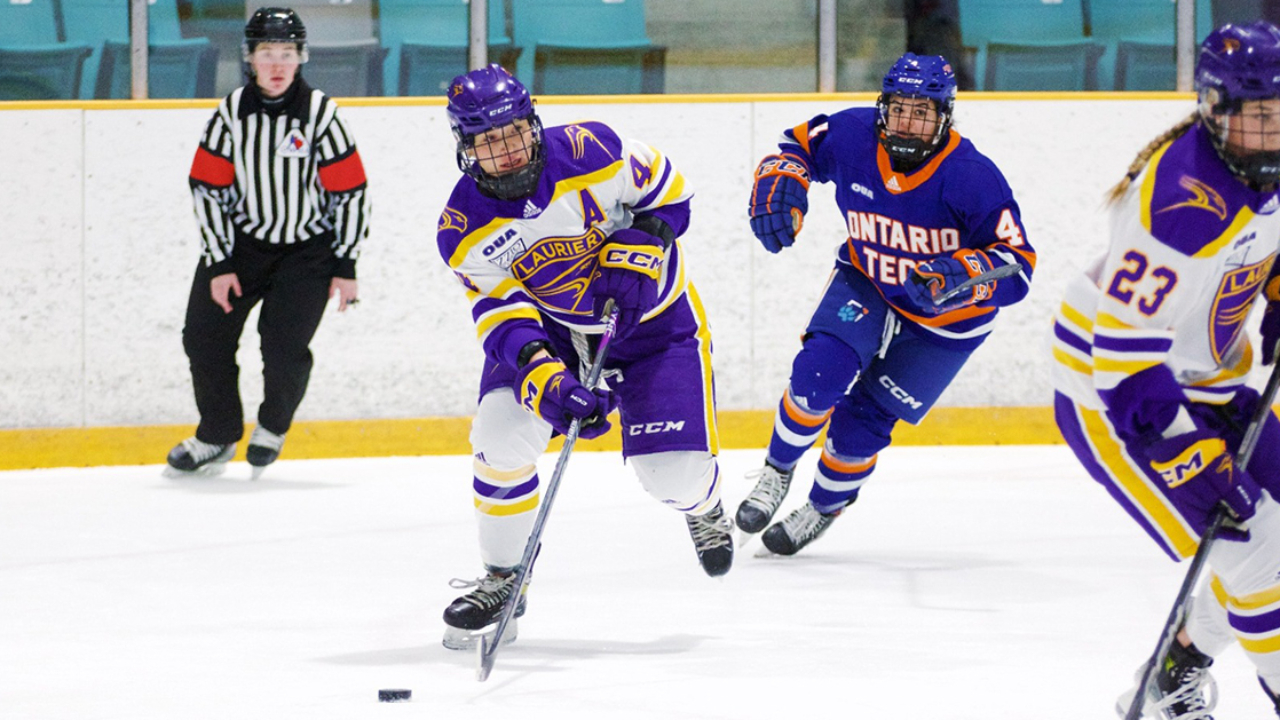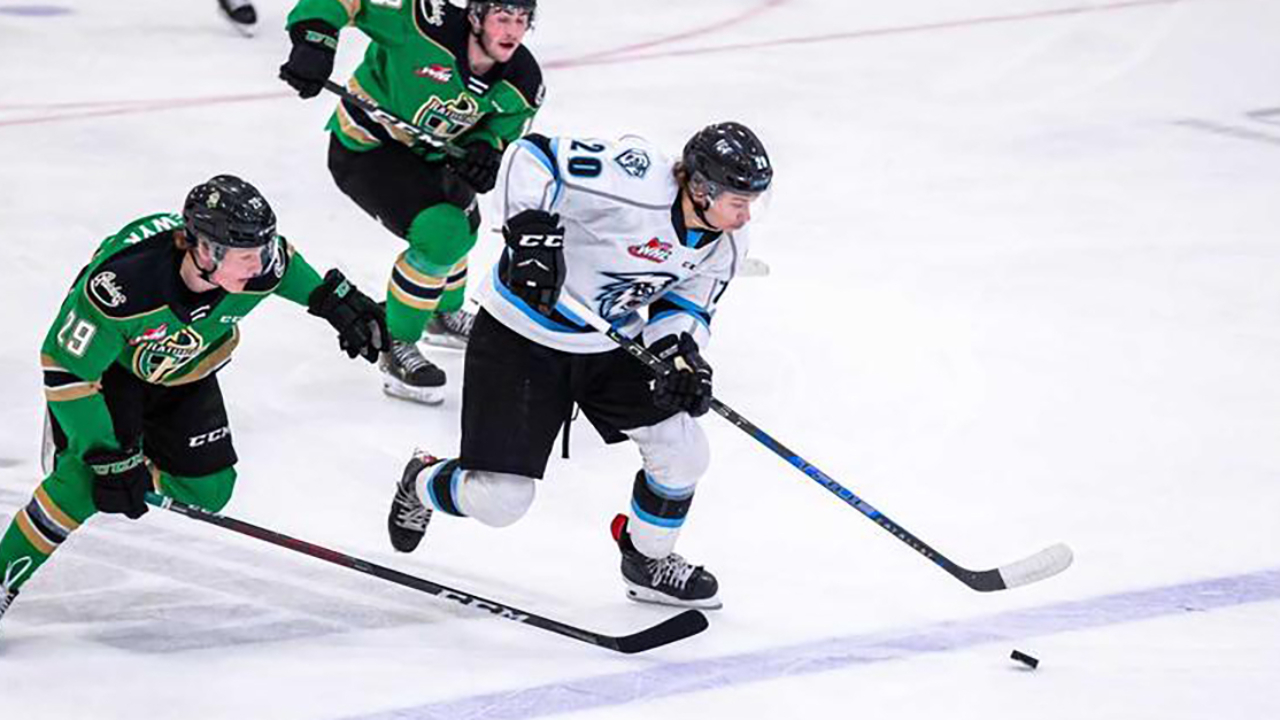
These hockey practice drills teach a very fundamental aspect of playing the role of a defensive team for all players.
In the ebb and flow of a hockey game, teams find themselves on offense and without a moment’s notice, they are defending. Many times, it happens so quickly players need to change their mindset before they even know what is happening. Forwards can find themselves down by the goal line and one bad pass or shot block and the play is headed the other way and they are behind.
We’ve focused already on teaching heads up defense, but we then need to focus on switching to defense. Before we’re even back in our zone, our players start with the always important backcheck. We need all five players joining the process to eliminate scoring chances and bring the puck back the other way.
David Starman covered a portion of this in his video about transitioning from offense to defense, and the biggest takeaway for the youth hockey level was when he spoke about “point of commitment.” This is the player who is backchecking on the puck carrier, and before he reaches the red line needs to decide if he can attack the puck carrier or should pick up another trailing player.
For this skill, we can use Deflection to Rush drill. This is a drill I highlighted in Zone Entry as well, but can be reused to either focus on the defense, or have your defensive coach make sure players on defense understand their lesson in the same drill.
Drills created with Hockey Coach Vision.
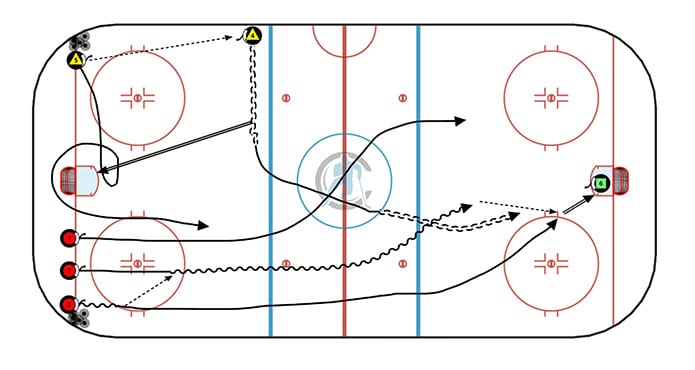
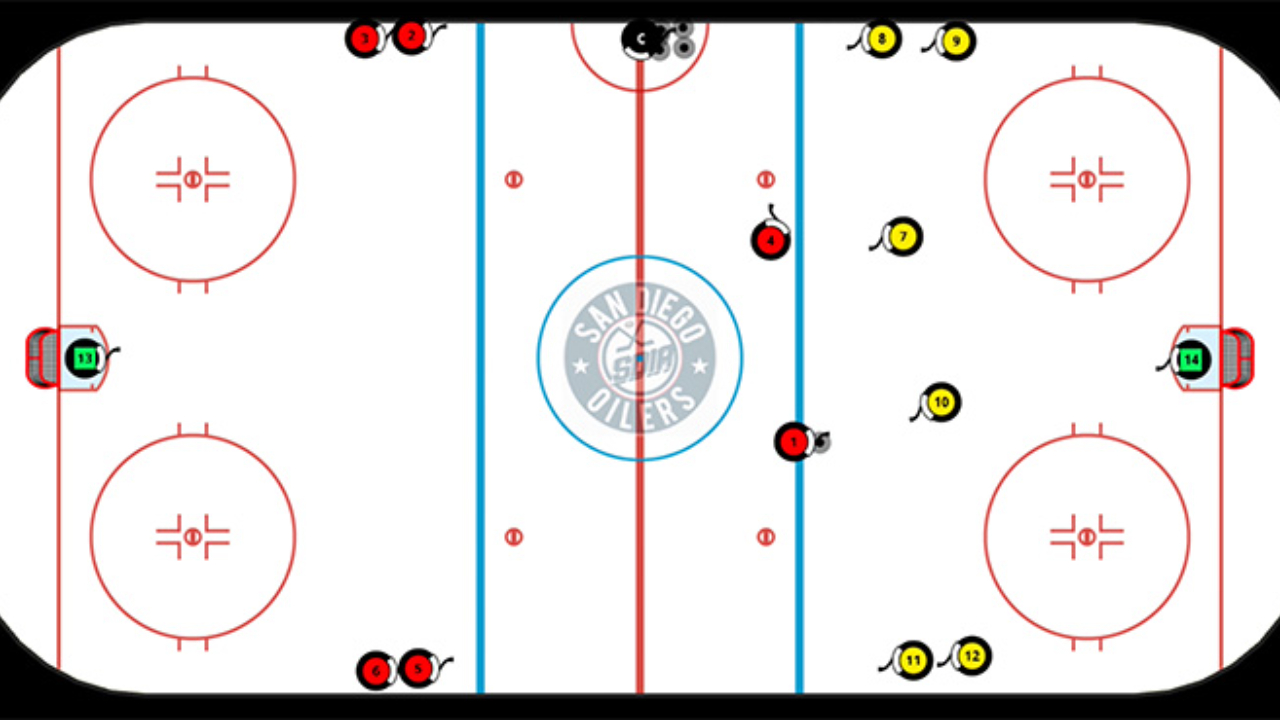
To recap how this drill runs, we incorporate a play to kick it off by working on walking the line and a tip by having the defense line up in one corner and at the blueline. The drill starts with a pass to the point and the player walks the line and takes a shot on net. The other player should have skated to the net creating a screen and looking for a potential tip.
The second the shot is taken, the three forwards on the opposite side begin to skate their puck out of the zone. As they do this, the defenceman who was screening the goalie loops behind the net and provides a backcheck, while the defenceman who took the shot immediately starts playing defense against the three attacking forwards.
Yet in this version of it, we’re focusing on the defenceman. For the defense in this, you have one who transitions from the start to be in front of the three attacking forwards, and the one backchecking from deeper in the zone. For the purpose of learning the point of commitment, a lot of focus from the coaches should be about that backchecker.
When they come out of the zone, they need to know which player they will be picking up.
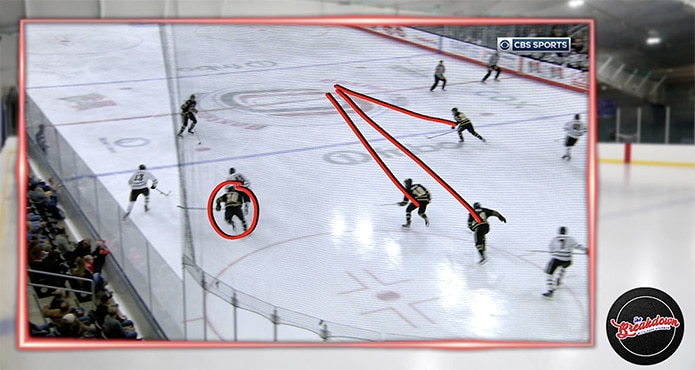
The player circled here is the backchecker from the drill. At first, he’s going to pick up the puck carrier, but by the red line, realizes he won’t catch him as he makes a pass to the player with him. The backchecker, rather than trying to switch to a new puck carrier, handles the trailing player.
Had the backchecker not changed focus, you don’t get the proper players covered and don’t have your players in the proper position to start your zone entry once you regain possession.
If the backchecker cannot commit to even catching the puck carrier far earlier, they can then simply commit to the trailing player, ensuring there is no option for them to take control of the puck, leaving only two players for the other defender and your goalie to concern themselves with.
Another similar drill we use, which simplifies this, can be run going in both directions at the same time, moving more players at once.
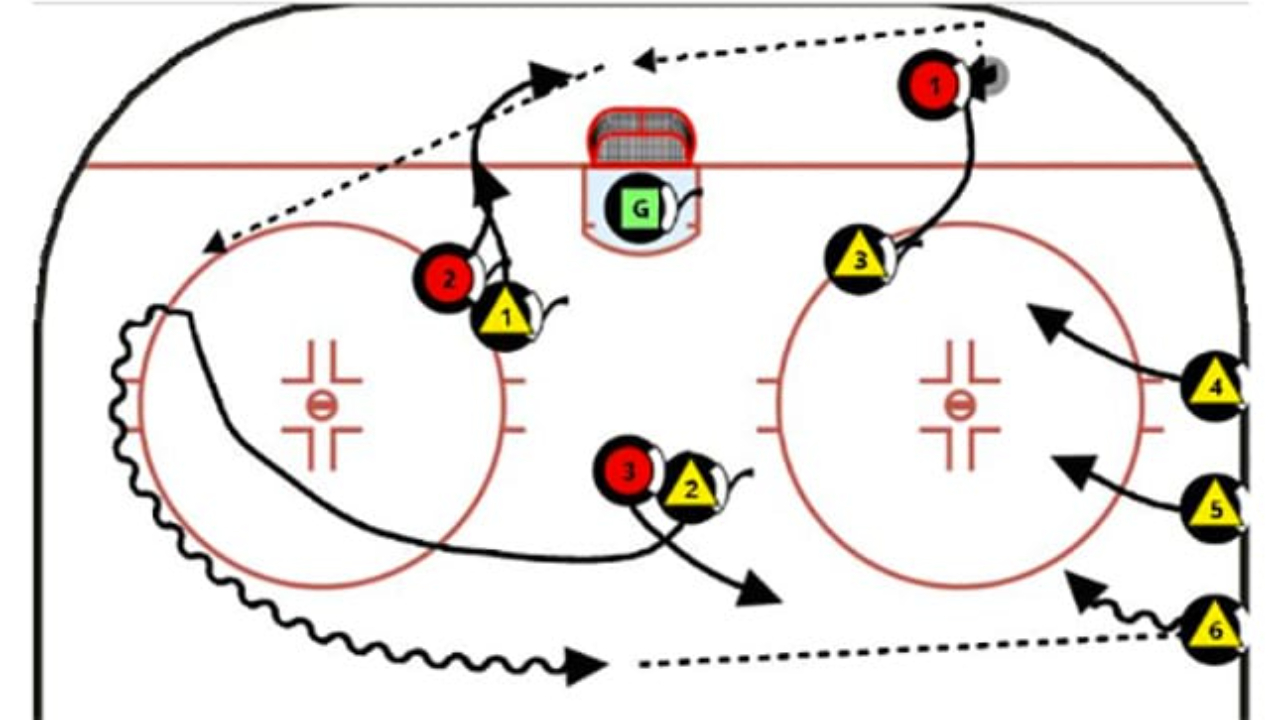
In this drill, you have a defender on the red line, and then with the coach, you have two forwards and a defender. On the dump in, players 2, 3, and 6 enter the zone. With the forwards trying to break the puck out, defender 6 is trying to limit the options the puck carrier has.
On the rush out, you will notice D6 is chasing the puck carrier and D5 is staying towards the middle of the two, once D6 realizes they will not catch the puck carrier, they focus on taking F2 out of the play. D5 then focuses on keeping the shooter to the outside making their shot less impactful or hopefully even gaining control of the puck.
The final drill is a 2 on 2 variation.
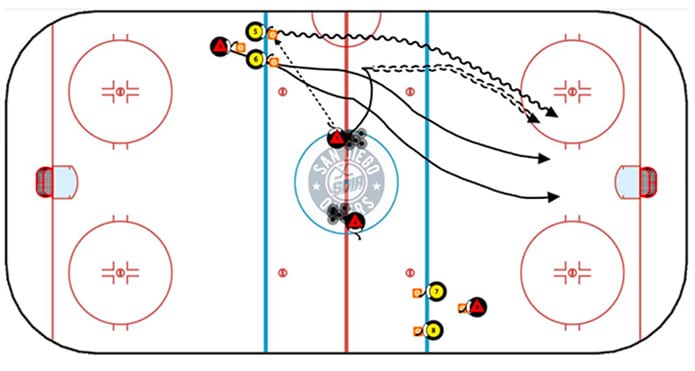
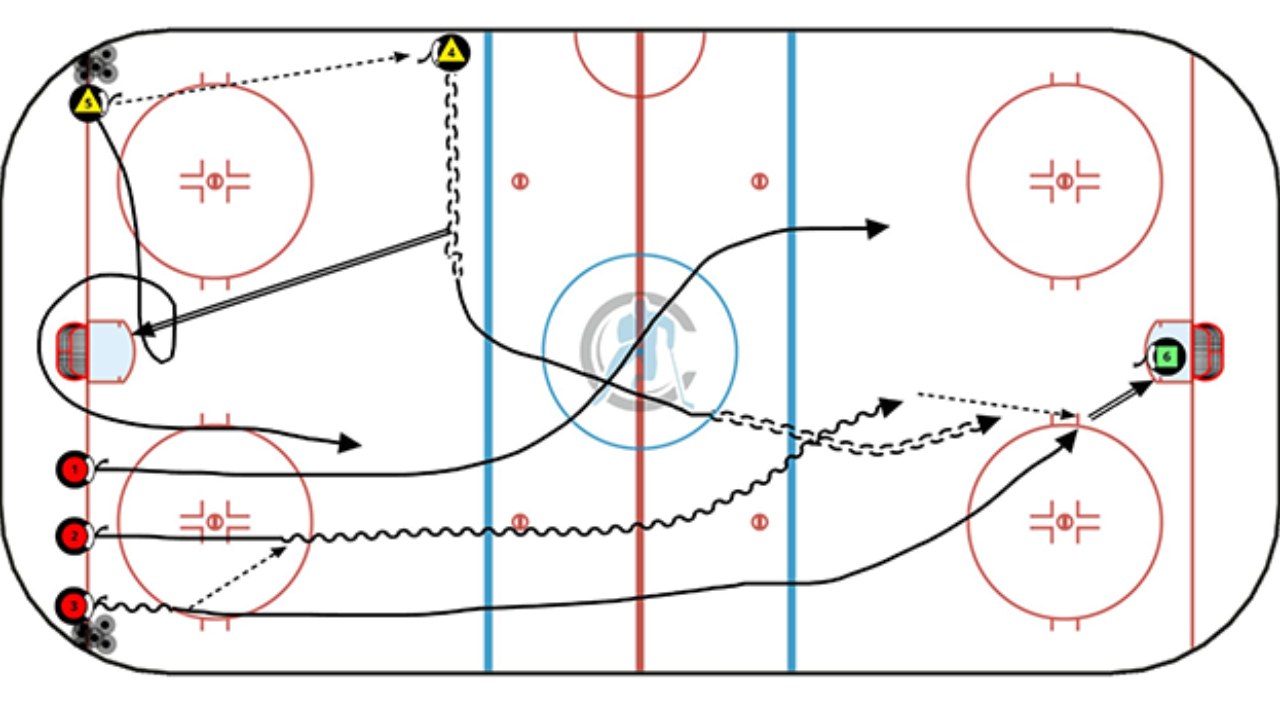
This can also run at the same time in both directions. You have defenders at centre ice with the pucks, and a defender on the trailing cone behind two forwards.
On the first whistle, the defender at centre passes to one of the two forwards and transitions to play defense as the two forwards rush out with the puck. Once they start skating, there is a second whistle to activate the backchecker, who quickly catches up and picks their target.
All three of these drills have a similar goal and structure, but offer a different way to teach the defense (and backchecking forwards) what their role is coming in behind the puck carrier. While you won’t want to run all three in one practice, they offer variations on teaching the same tactic so your players don’t get bored with one drill but get lots of repetition on one concept.
These drills can be modified as well, such as adding a coach to apply additional pressure where needed, especially in the 2 on 2 backcheck drill. You can have a coach create the need for a puck battle before the puck carrier can gain control and make an outlet pass.
These drills teach a very fundamental aspect of playing the role of a defensive team for all players. In a game, when you’re in the zone on the attack and must quickly transition to defense, what each player does in that moment can be the difference between going back to your zone and having to battle your way out, or attacking the offensive team with a tactic that allows you to regain control and head back into the attacking zone with numbers.
3D Animated Drills are powered by the Hockey Coach Vision App. Test the FREE HCV APP and access 100+ Animated Drills: https://hockeycoachvision.com/


